Simple Ways to Keep Your Photographs Organized

Photo: Thinkstock
A scrapbook craze is sweeping the country, with women spending hundreds of hours (and dollars) creating elaborate photo/memory books with friends. But if this pastime isn't for you and you'd just like to get those photo packs out of your drawers and under control, read on. To avoid feeling overwhelmed—or getting stuck in memory lane—do it in stages.
Stage 1: Quick Fix (three to four hours)
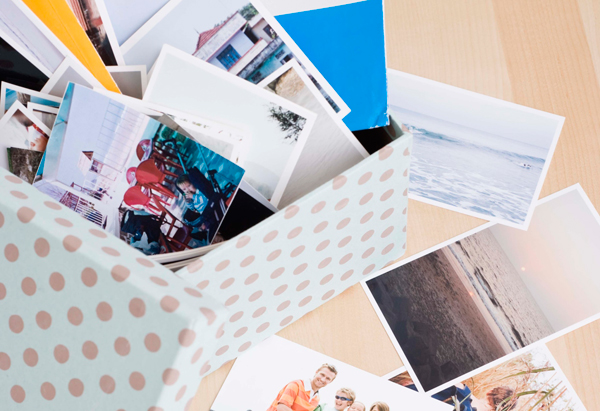
For each year of backlog, buy two or three archival-quality photo boxes. Available in photo shops and housewares stores (such as Bed, Bath & Beyond) or on Websites (like exposuresonline.com), they come in a huge array of colors and patterns. Choose a style that matches your decor and taste.
Check every room, drawer, closet and abandoned travel bag for stray snapshots. Bring your finds to a central location with a large work surface, such as the dining room table or family room floor.
Playing "beat the clock" with yourself, spend no more than three hours sorting photos into broad categories. You can group by year, stage of life (childhood, teen years, college, adulthood), types of people (family, friends, work) or events (vacations, celebrations, holidays). Follow your first impulse without belaboring decisions. When finished sorting, put each category into its own box or boxes, and label. Even if you never get around to the next stage, you can easily enjoy your pictures now.
Stage 2: User-Friendly Albums (25 to 30 hours per 100 rolls)
Buy albums that will hold several sizes of photos. Artists' portfolios with black pages allow you to arrange your pictures collage-style. And some three-ring binder albums come with mix-and-match plastic sleeves of multiple configurations (three by five, four by six, etc.). Whichever type you choose, get all one kind of album.
Each envelope of photos takes about 15 to 20 minutes to place in an album. Don't do it all at once: Set aside a specific time each week or month and work on only one photo box at a time. You can also give your kids a box—say, vacation photos—to work on. Note to pack rats: Throwing away a bad picture is not like throwing away the person in it! Toss shots that are blurry, unflattering or off-center. Duplicates and redundant shots can be pitched, given away, or stored for school projects, collages and gifts.
Put negatives and duplicates in labeled Ziploc bags, indicating which album the shots belong to. Store in photo boxes.
Stage 3: A System That Keeps on Working
Clear out a drawer for photos you haven't sorted yet; while you're at it, make space for extra rolls of film and spare albums. You might also include photo mailers and stamps.
Limit the shots you take. Digital cameras have revolutionized picture taking—you can erase bad shots immediately.
Develop film within a day of completing a roll. Update your boxes and albums routinely, either once a month or twice a year—say, January and July.
And if the whole thing is more fun than you'd thought, and you now feel the urge to coordinate all your mementos, then you, like other scrapbookers, may have hit upon a new form of self-expression. If not, you'll simply be happier knowing you can look at last year's vacation—or your child's first birthday—whenever you want.
More Ways to Keep Organized


