5 Tiny Changes That Will Make Your Bathroom Shine
Improve your bathroom with these easy, low-cost updates from Bathroom Ideas You Can Use.
By Chris Peterson
Freshen Up Your Tiles
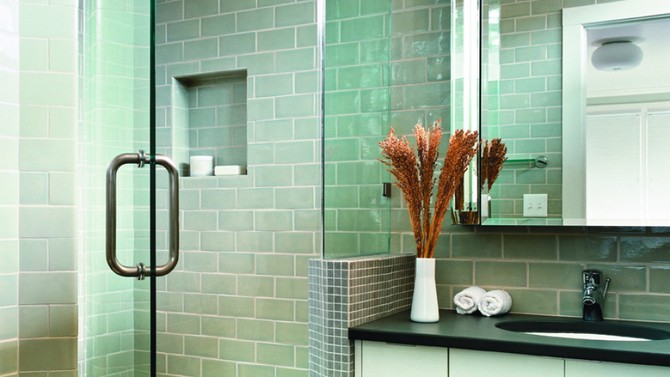
Transform older tiled surfaces in your bathroom without retiling. Thoroughly cleaning and recoloring your grout can make wall and floor tiles look brand new. This is an easy Saturday project that requires few tools, modest expense, and zero expertise. The process starts with a deep cleaning of the grout lines (a good idea to do on a regular basis in any case), followed by the application of a color that best complements the tile and room—a process that effectively seals the grout as well.
Cleaning
- Always read the label of a grout-cleaning product closely. Most will etch unsealed tile, such as natural stone, and are consequently meant only for use with ceramic or porcelain tile.
- Wear gloves and work in small (3-foot-square) sections. Brush the cleaner onto the grout lines with a grout brush. Let it sit for 5 minutes, and scrub the grout again. Rinse with a damp sponge until all the cleaner has been removed. Let the tile and grout dry entirely, which may take up to 1 hour.
Coloring
- Put a small amount of grout colorant in a plastic dish. Starting from the corner farthest from the door, begin coating the grout lines with colorant, using a foam applicator. Work in a grid about 3 feet square. Apply the colorant over the grout lines while trying to limit the amount of bleedover on the tiles.
- Use a damp sponge or damp clean towels to wipe the tiles after you've applied the colorant. Continue gently wiping them until you've removed all colorant from the tiles themselves. Note: You can also mist the tiles with water even after the colorant has dried, to wipe any remaining residue off the face of the tiles.
- Proceed to the next section of tile and repeat the process (you may need to coat the grout lines a second time to get satisfactory coverage or color).
- If the tiles are dull after you're finished, buff the face of the tiles with a scrub sponge, working diagonally to the grout lines.
Published 06/01/2018


