Ever Wonder How Chefs Get Their Food to Look So Good?
Pros share their tricks for beautiful lattes, straight-edged brownies, perfect hors d'oeuvres and other drop-dead gorgeous dishes.
By Lynn Andriani
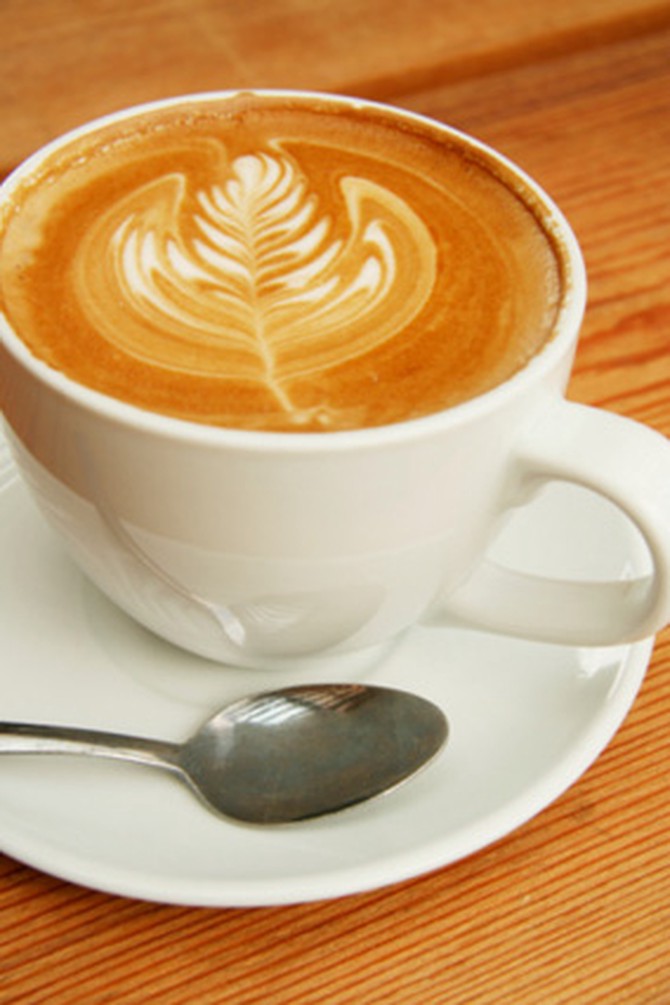
Photo: Thinkstock
Museum-Worthy Latte Foam Art
Humberto Ricardo, one of the owners of Third Rail Coffee in New York, says the key to creating designs out of foamed milk—tulips, hearts and leaves—lies in how you steam the milk. At his shop, baristas carefully control how they introduce air into the milk. If you have a cappuccino machine with a frother, you can do it too. First, put the frother's tip near the top of the milk and let the milk expand to the level you want it (this should take just a few seconds). Then immerse it more deeply, creating a whirlpool. When you're finished, the milk should be shiny and slightly thick, with tiny, uniform bubbles (imagine the consistency of paint or the mini bubbles you'd find in melted marshmallows). Next, pour a thin stream of milk into the espresso so it breaks through the coffee's crema layer (the reddish-brown froth on top of the espresso). Once you have a clean, brown surface devoid of stray specks of milk, move the pitcher side to side, starting at the 12 o'clock position, so the foamed milk zigs and zags across the crema. To create a heart, draw the pitcher's stream across the center of the cup and away from you in a straight line; that will pull in the foam nearest to you, forming the shape. Mike Jones, a barista at Third Rail Coffee, demonstrates in the video below:
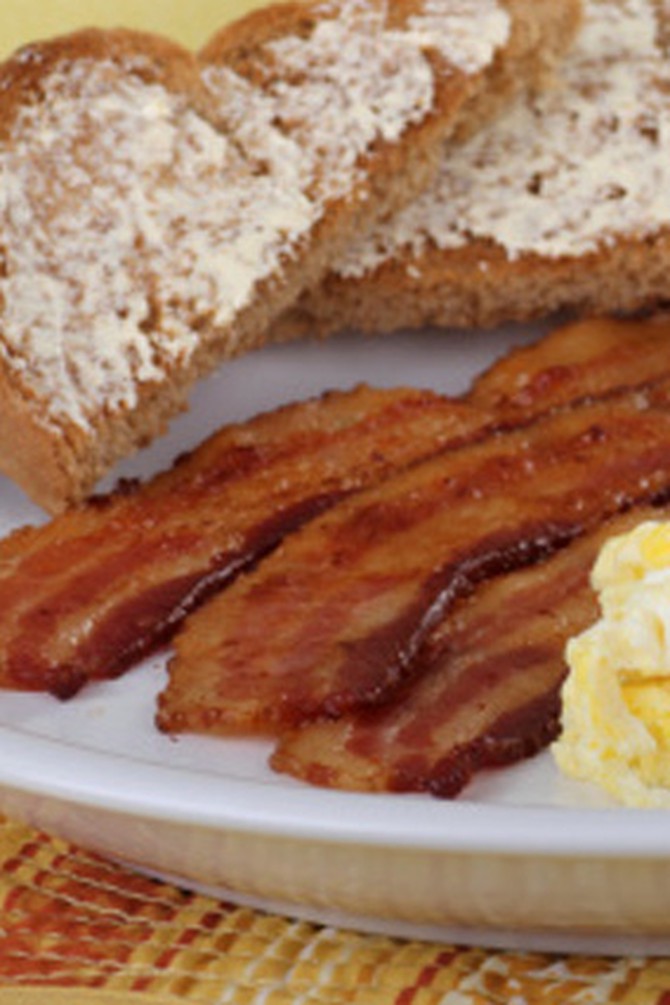
Photo: Thinkstock
Pancake-Flat Strips of Bacon
When you heat this cured pork—which has an almost 50-50 meat-to-fat ratio—the fat melts away and shrinks at a different rate than the meat, which explains why some pieces can look like curlicues. If you want a perfectly flat strip—say you're going to be cutting it into one-inch squares for a layered hors d'oeuvre—weight it down under bricks, says caterer Peter Callahan, whose book, Bite by Bite, shows how he makes even pigs in a blanket look fancy. You can cook bacon under a brick (wrapped in two sheets of heavy-duty aluminum foil) in a frying pan or in the oven, and since the brick conducts heat, there's no need to flip the bacon. One more bit of advice: Use thick-cut bacon; it's much easier to flatten.
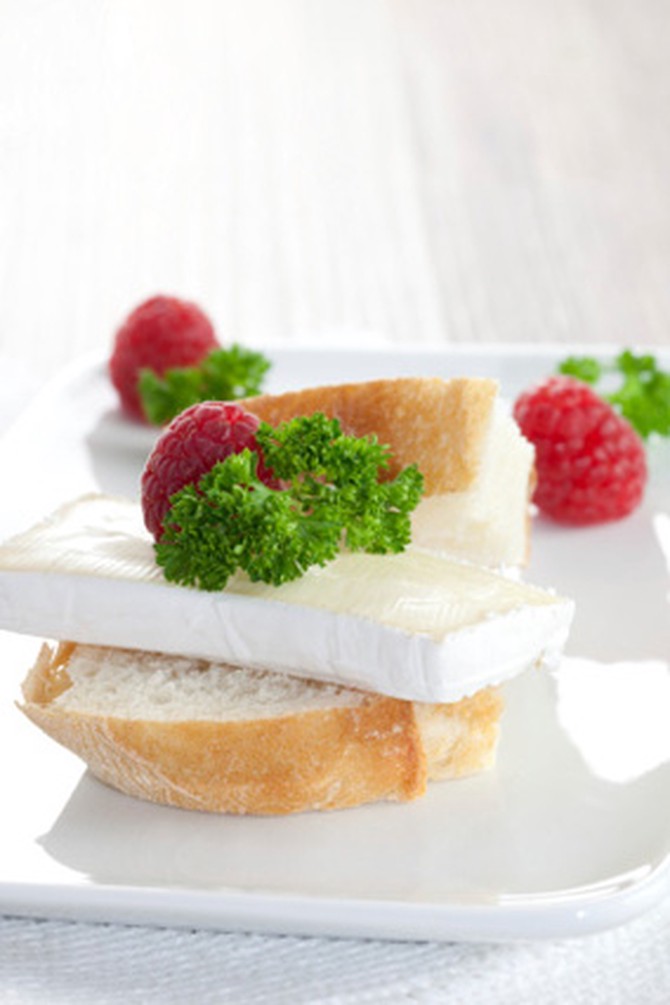
Photo: Thinkstock
Soft Cheese That Keeps Its Shape
If you're putting out a cheese platter and want to have all the selections cut ahead of time, or if you're assembling an appetizer with slices of, say, Brie and fruit, follow Callahan's advice and freeze the entire round (or rounds) for an hour. It'll be much easier to get same-size, straight-edged pieces. Just let the segments sit out at room temperature for 10 to 20 minutes (depending on how hot the room is) before serving.

Photo: Thinkstock
Chicken That Glistens
You could finish off a whole roasted bird with a drizzle of its own juices...or you could make a beurre monté by whisking cold butter into the liquid, giving the dish extra richness and gloss. In her book, Basic to Brilliant, Y'all, Virginia Willis explains how to dress up classic Southern dishes by doing just that. First, remove the chicken to a warmed serving platter and tent it with aluminum foil. Heat the sauce (or juices; there should be about 1/2 cup) over medium-high and boil until it's reduced by half. Remove the pan from the heat and, using a whisk, swirl in 1 tablespoon cold unsalted butter. Taste and adjust for seasoning with coarse salt and freshly ground black pepper; then pour the sauce over the chicken and serve.
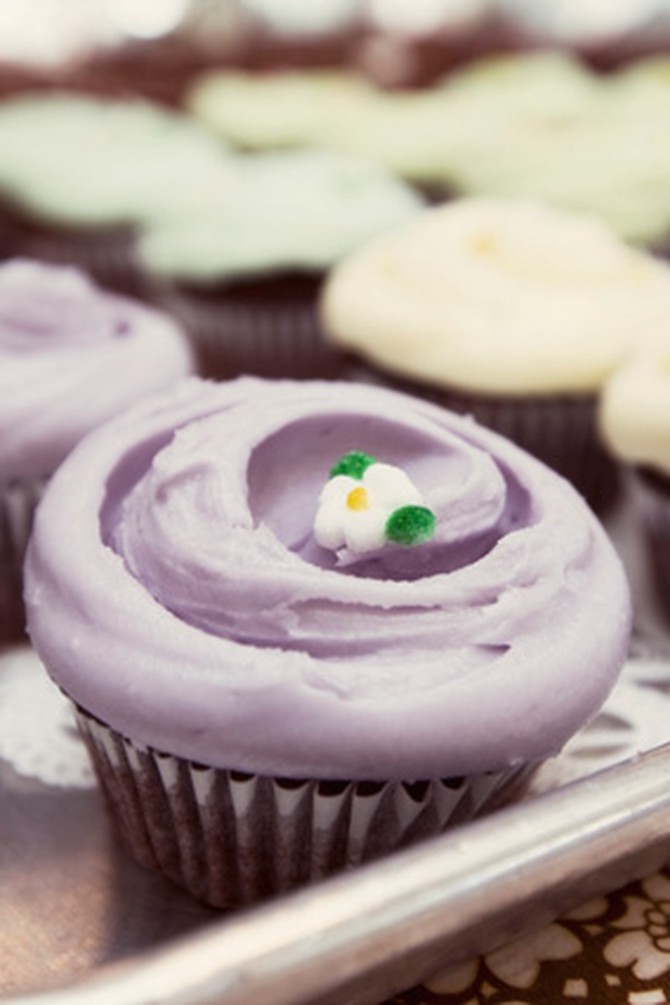
Photo: Magnolia Bakery
Cupcakes with Mile-High Frosting
At New York's Magnolia Bakery, which has six shops and just opened in Chicago, icers spend anywhere from eight to 40 hours learning the perfect way to slather and swipe buttercream into submission, says chief baking officer Bobbie Lloyd. Here are the basics: Start with a flat-topped cupcake; they're easier to frost. (If you are using a boxed mix, which almost always mounds while baking, you'll want to slice off the top.) Using an icing wand (like this Duff spatula), stir the buttercream vigorously in a plastic bowl to remove air bubbles. Scoop up a teardrop-shaped 1/4 cup (which is a lot, but Lloyd says it's necessary for a deep swirl). Pat it onto the cupcake and then swipe down the edges on all sides so the frosting is shaped almost like a pyramid. Pat down the top with your wand and then spin the cupcake itself so the tip of the wand flattens the icing a bit while giving it a swirl. Finally, pull up, imparting a tiny curled edge.
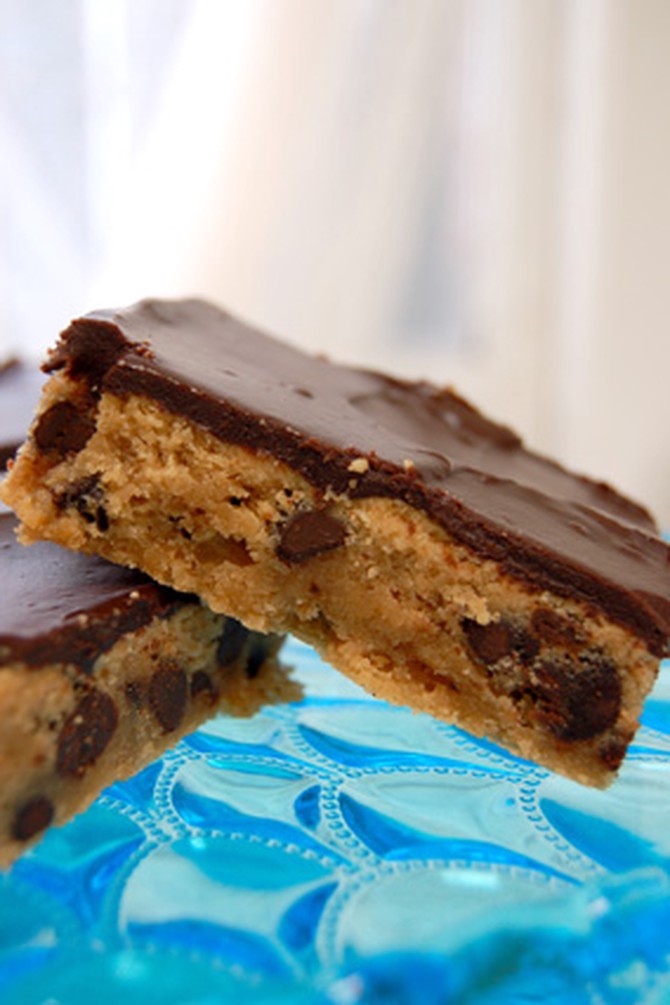
Photo: Magnolia Bakery
Straight-Edged Brownies and Bar Cookies
Lloyd swears by this method for consistently perfect bars: Butter the pan, line it with foil (which is easier to work with than parchment paper—just use a good quality foil, like Reynolds, but not a heavy-duty one). Butter the foil. Pour the batter in, bake and let it cool completely in the pan. Lift the foil out of the pan and lay the brownies or bars, still on the foil, on a cutting board. Then, use a big, heavy knife, such as a 10-inch chef's knife, to cut the brownies in one strong motion. (Using a long blade will ensure your lines stay straight.) For bar cookies that are filled—or even more dangerously, topped—with nuts and/or coconut, use a serrated knife, with a sawing motion. Lloyd likes a plastic lettuce knife (like this $6 version from OXO) because it cuts through layers, especially ones made from graham cracker crumbs, without breaking the pieces apart.
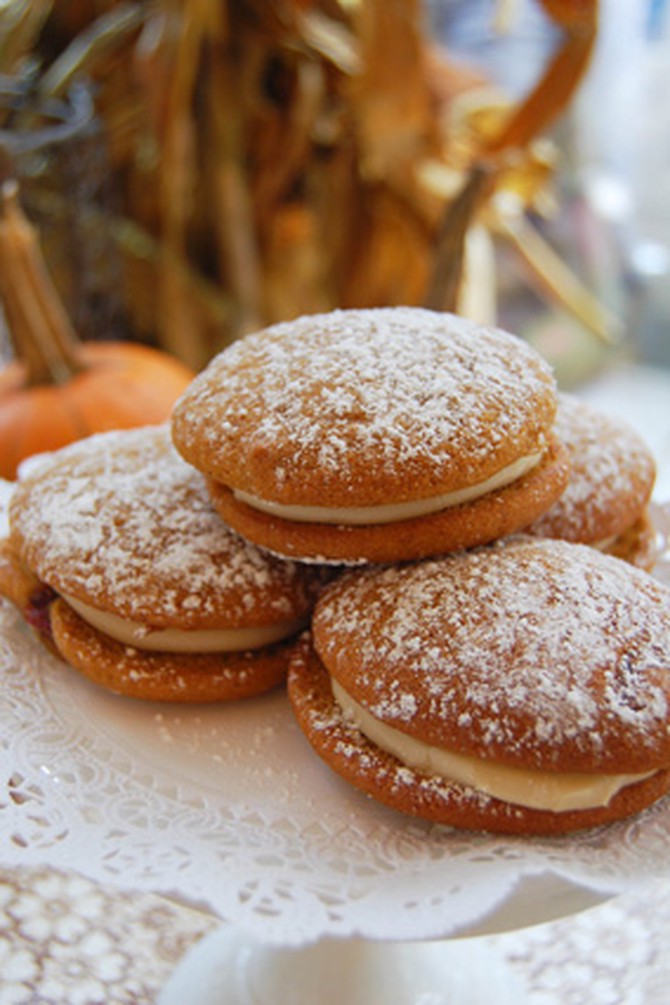
Photo: Magnolia Bakery
Same-Size Cookies That Don't Spread
Like most professional bakeries, Magnolia uses a cookie scoop to measure out dough. Then, bakers level each scoop and place them flat side down on a cookie sheet. The trick here is in the butter temperature: To avoid creeping cookies, they put the sheet in the refrigerator for a half hour before baking.
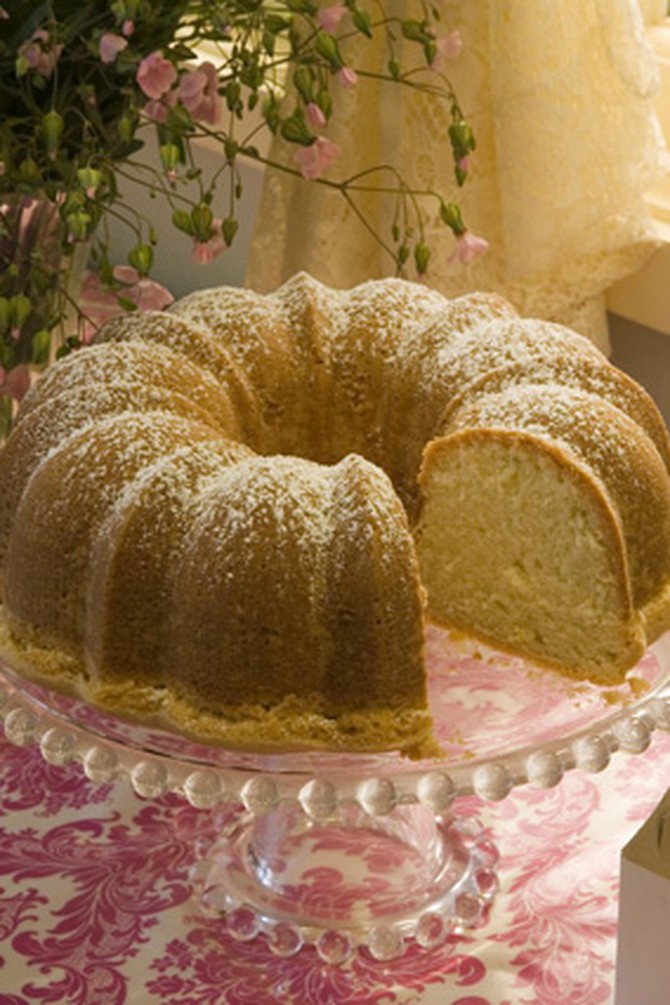
Photo: Magnolia Bakery
Powdered Sugar–Dusted Cakes That Stay That Way
It happens all the time: You sprinkle that gorgeous Bundt cake with powdered sugar before your guests arrive, and when it's time for dessert, the dusting seems to have disappeared. That's because the confectioners' sugar you buy in the grocery store is 10X. Magnolia uses 6X, which has more cornstarch. That keeps it from clumping or melting. To get a similar result, add a teaspoon of cornstarch to a cup of 10X sugar and then sift them together.
Keep Reading: Cookie Jar Classics
Published 09/22/2011

