How to Use Clip-In Extensions to Get Thick, Full Hair
Hairstylist Ken Paves walked one woman through the (surprisingly simple) process.

Photo: Ben Goldstein/Studio D
Before and After
Alyssa Osborne, a 26-year-old graphic designer, wants thick, shiny, swing-over-your-shoulder hair. To get it, she once tried sewn-in extensions. "They looked amazing," she says. "They were expensive, though, and not very comfortable." Clip-in extensions—affordable, easily removed—sounded appealing, but Alyssa had no idea how to use them. Hairstylist Ken Paves, whose Hairdo line includes clip-in synthetic extensions, walked her through the (surprisingly simple) process.
See how to get the look yourself in 6 easy steps
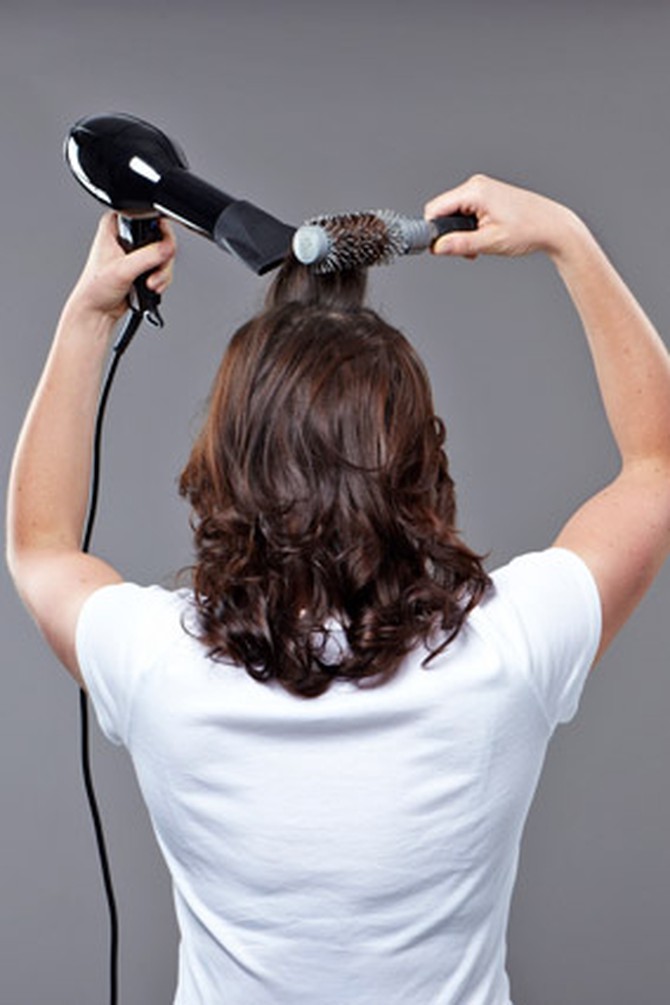
Photo: Ben Goldstein/Studio D
Step 1
Your extensions must match not only the color but also the texture of your hair. While blow-drying, Alyssa used a large round brush to give her real hair the same loose waves as the hairpiece she chose (Hairdo 20 Styleable Clip-In Extensions in Chocolate Copper, $99; hairuwear.com for locations).
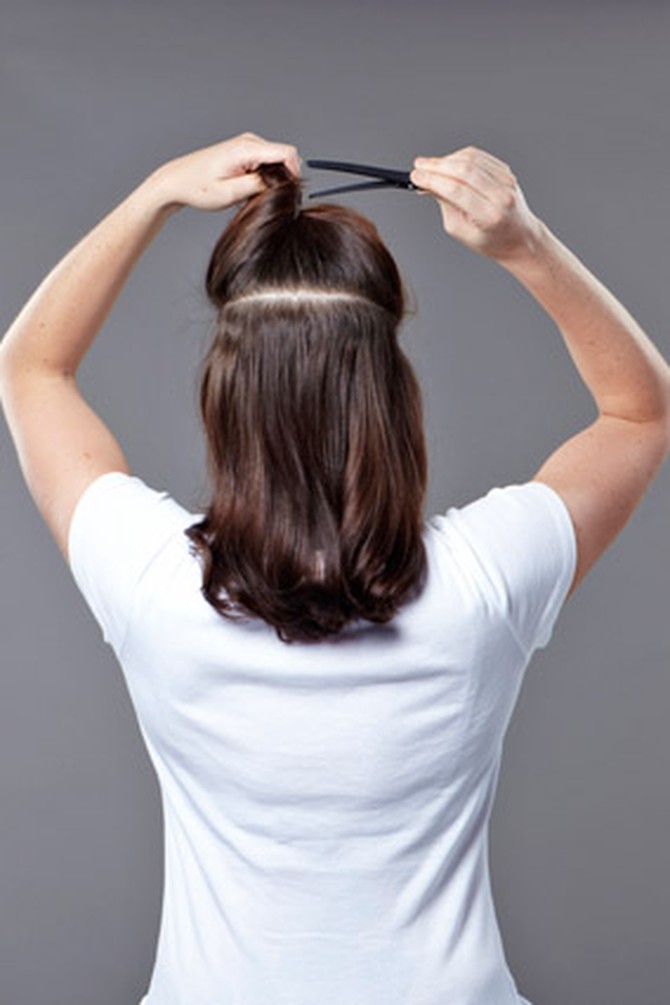
Photo: Ben Goldstein/Studio D
Step 2
Separate your hair into upper and lower sections. Start parting it at your left temple and move across the back of your head in a straight line to the right temple. Use a clip to secure the upper section of hair on top of your head.

Photo: Ben Goldstein/Studio D
Step 3
If your hair is fine or very straight, tease it along the bottom of the part line with a fine-toothed comb. This will help keep the clips secure. First tease a one-inch section of hair in the middle of the part, then one-inch sections on both sides, just above your ears.

Photo: Ben Goldstein/Studio D
Step 4
Each set of extensions is attached to a semicircular net with three clips across the top and four around the bottom. Make sure that all seven clips are in the open position, then line up the top seam of the netting with your part and attach the top middle clip first. Push it down into the teased hair, then press it flat against your scalp (you'll hear, and feel, a little snap when it's secure).

Photo: Ben Goldstein/Studio D
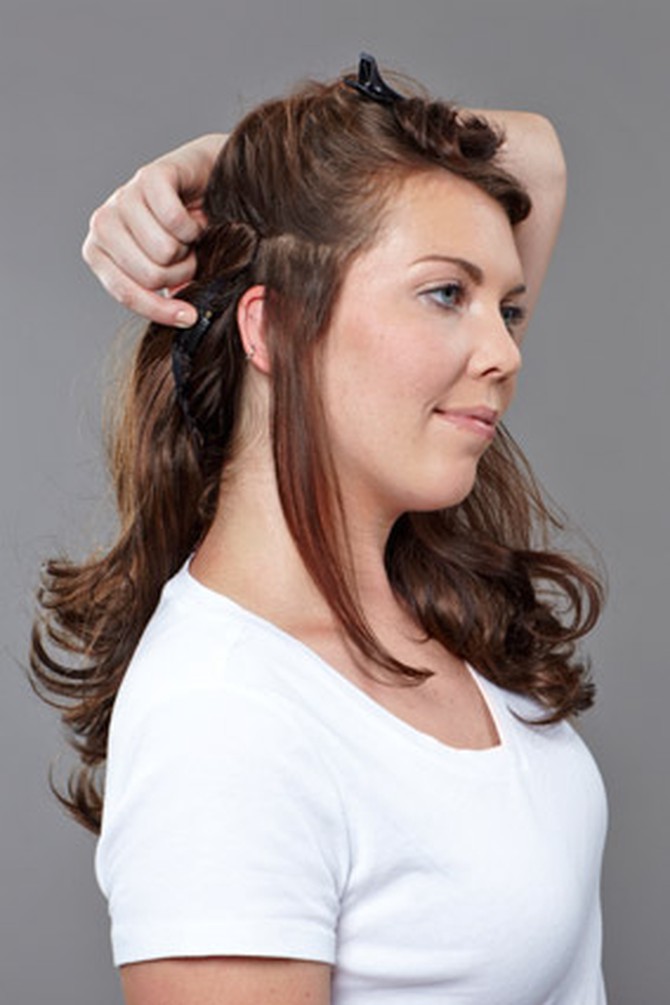
Step 5
Line up the piece along the part on both sides of your head, pulling it taut against your scalp, and attach the two side clips, one above each ear.
Ben Goldstein/Studio D
Step 6
Attach the four lower clips along the lower half of your hairline, around the nape of your neck. Let down the top section of hair and use your fingers to blend it with the extensions.
Ben Goldstein/Studio D
How to Care for Your Fake Hair
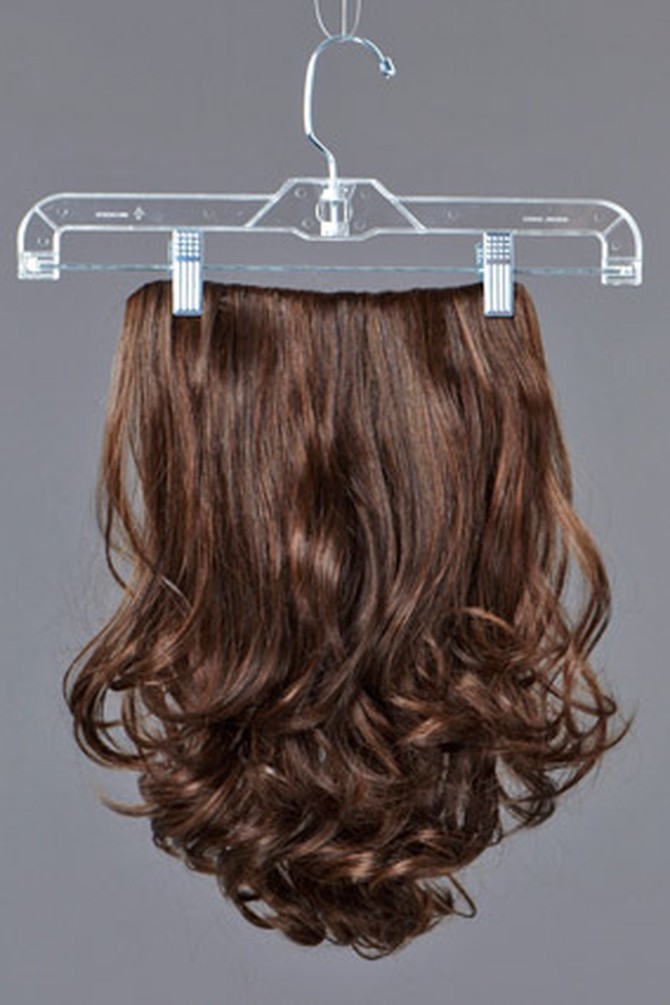
When they're not giving you the Rapunzel treatment, Ken recommends storing your extensions on a pants hanger. After every six uses, dunk them up and down in a sinkful of cold water and a little mild shampoo. Then rinse the hair in cold water, hang, and let it air-dry. These Hairdo extensions can be curled and flatironed (though not all synthetic hair can be, so check the instructions before styling it).
Next: Create an effortlessly elegant chignon in 4 easy steps
From the January 2012 issue of O, The Oprah Magazine

