4 Eyebrow Tricks to Make It Look Like You Got a Makeover
Why nip and tuck when you can trim and pluck?
By Brian Underwood
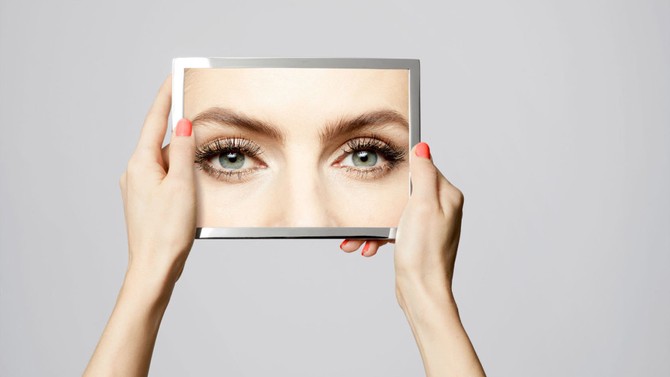
Photo: Peter Rosa
Brows That Wow
If you’re like 99.9 percent of women, there’s been a time when you’ve looked in the mirror and wished that your (fill in the blank) was a little smoother or your (fill in the blank) looked just a tad smaller. Maybe you’ve even considered going under the knife. But why nip and tuck when you can trim and pluck? The right eyebrow shape can transform your face dramatically. Brow maestro Robert Gabriel, owner of Gabriel's Brow Boutique in New York City, shows four women how it's done.
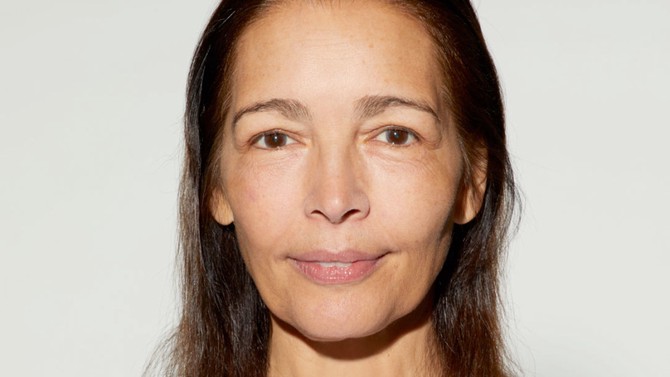
Photo: Peter Rosa
Elevate Droopy Eyes
“Most days I’m up at 3 a.m. to go to work,” says Juliette Branker, a nursery specialist for Lowe’s. This early-bird schedule—and natural aging—may have left her eyes a little saggy. Defined brows can make a huge difference.
The issue: The position of Branker’s brows—just below the orbital bone and sloping southward—wasn’t doing her lids any favors. “This really brought down her entire eye area and demeanor,” Gabriel says. An uneven shape (very thick at the beginning, thin toward the ends) only exacerbated this effect. “We needed to get everything moving in an upward direction,” Gabriel adds.
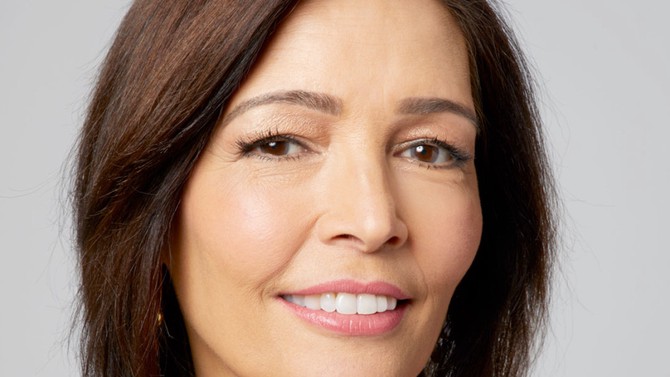
Photo: Peter Rosa
Tinting Gives Wimpy Brows More Presence
The update: First, Gabriel tinted the tiny, nearly invisible hairs around Branker’s brows (he had to isolate and trim a few stubborn grays that resisted the dye). He then waxed to remove some of the hairs along the bottom of her brows, creating a more sloped arch and lifting the tails (the ends of the brows, near the outer corners of the eyes). “This defined and opened up Juliette’s eye area to give her a fresher look,” he says. Because Branker’s hairs naturally grow in a downward direction, Gabriel also filled in the bottoms with a pencil, brushed up with a spoolie, and applied some clear brow gel. “This lifted the hairs and held them in place,” he says. The verdict: “I love my brows! It was wonderful to have them done professionally,” Branker says. “Now let’s party!"

Photo: Peter Rosa
Get a No-Scalpel Facelift
Rosa Curry is starting to notice that her face looks a little drawn along the jawline. Fuller brows to the rescue!
The issue: Four years ago, Curry realized her brows were beginning to thin—at both the fronts and the ends. The result: a visual narrowing of the face, especially due to the brows’ shorter tails, Gabriel says. Curry is a prime candidate for microblading—in which a semipermanent dye is deposited in the skin of the brow area—but for now, Gabriel worked his magic with filling and shaping.
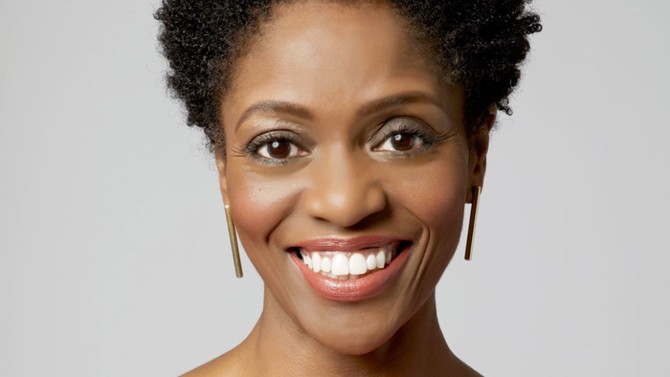
Photo: Peter Rosa
The Outer Part of Your Brow, Called the Tail, Should End at a 45-Degree Angle to Your Pupil
The update: To create brows where there were nearly none, Gabriel tinted to give Curry a fuller look and also used wax to round her arches. The key to her transformation, though, was repositioning her tails slightly above her browbones and tapering them. “This lifted Rosa’s entire face and made her look more youthful,” he says. Finally, it was time to fill. Gabriel used a pencil to draw short, wispy lines along the bottom of Curry’s brows, brushing through with a spoolie to blend the product with the hairs. Of her new brows, she says, “They add flair to my face!”
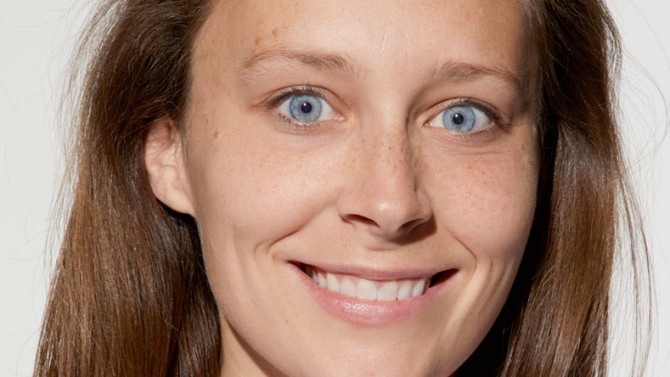
Photo: Peter Rosa
Play with Proportions
Madison Stratton wanted to deemphasize her forehead. “She’s very attractive,” says Gabriel. “A few brow tweaks will merely enhance that.”
The issue: Stratton, also a good candidate for microblading, is afraid to do much to her sparse brows. “I just fill with a little pencil and that’s it,” she says. “I worry that if I do much plucking on my own, they’ll look like tadpoles.” In truth, she could lose a little hair—but strategically.
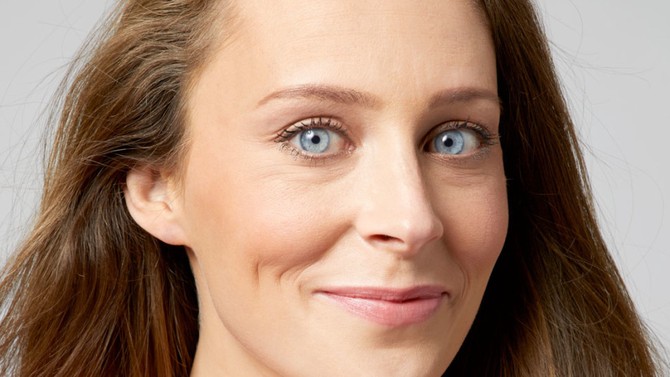
Photo: Peter Rosa
The Space Between Your Brows Should Be About as Wide as the Bridge of Your Nose, Not Your Nostrils
The update: Gabriel’s goal was to visually raise Stratton’s brows. To accomplish this, he tinted them to help bring out the tails, the thinnest part. “That’s generally where fading begins,” says Gabriel. He then reshaped them with wax, being careful not to take too many hairs off the top. He also waxed a bit here and there to give Stratton sharper arches and get her asymmetrical brows on the same level.
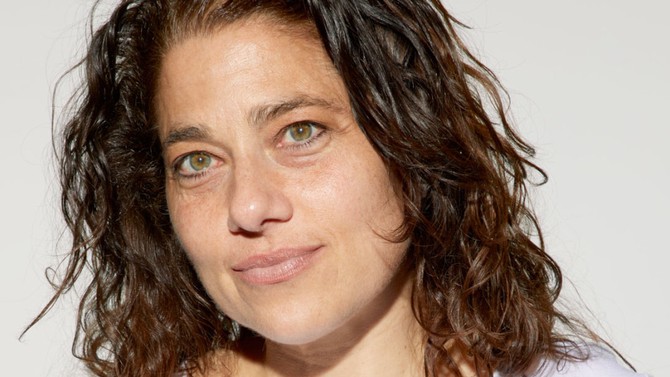
Photo: Peter Rosa
Rebalance Your Features
Semra Kiremitci’s nose was overshadowing the rest of her face. When one feature dominates, Gabriel says, well-shaped brows can subtly divert attention.
The issue: “Because her brows were so long, they eclipsed her beautiful eyes,” Gabriel says. His goal was to draw attention to them. Kiremitci has what Gabriel dubs “caterpillar brows”—fuzzy, with no defined edges. “To bring focus to the area, they need to be sharp and distinct,” he says. Length was another concern. It was time to get things in shape.
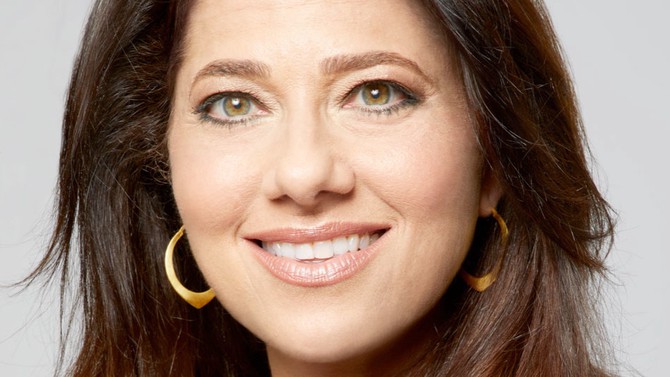
Photo: Peter Rosa
Choose a Taupe or Beige Pencil to Fill in Sparse Brows
The update: To fill in uneven spots—essential to giving Kiremitci high-impact brows—Gabriel again began by tinting the entire area: “It created more contrast with the rest of her skin, which made the brows more pronounced,” says Gabriel. The next step was cleaning up the edges and trimming back the heads and tails. Gabriel kept Kiremitci’s arches rounded but tapered the tails, creating the perfect frame for her hazel eyes. She was thrilled with the results: “I love my new brows—I didn’t realize they could look this good. I’m definitely going to keep it up.”
From the August 2018 issue of O, The Oprah Magazine

