How to Make Beautiful DIY Holiday Cards
A designer known for her bold, graphic patterns captures the spirit of the season with handmade holiday cards.
By Christa Martin
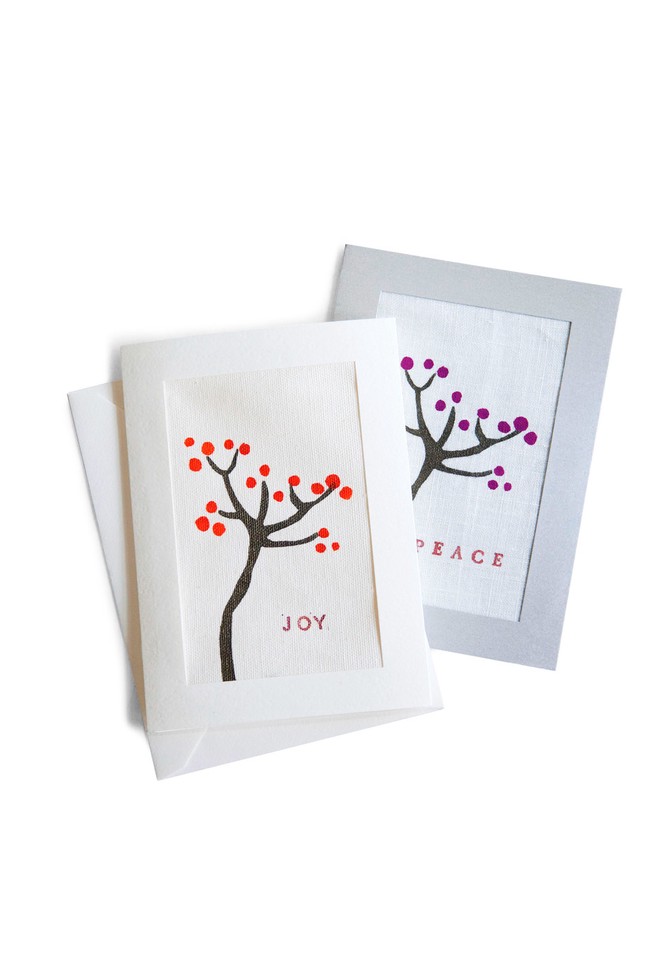
Photo: Jennifer Causey
"In Scandinavia, we learn how to do things with our hands early on," says Lotta Jansdotter, whose childhood in Finland and Sweden was spent pressing flowers, crocheting scarves, and sewing clothing. After moving to the United States in 1991, Jansdotter began adorning aprons, journals, and tote bags with her hand-drawn designs. Echo, her new fabric line, features abstract flowers and asymmetrical, pebble-like polka dots. "Nature grounds me," she explains. It also serves as the inspiration for the sweet holiday card she shares here.
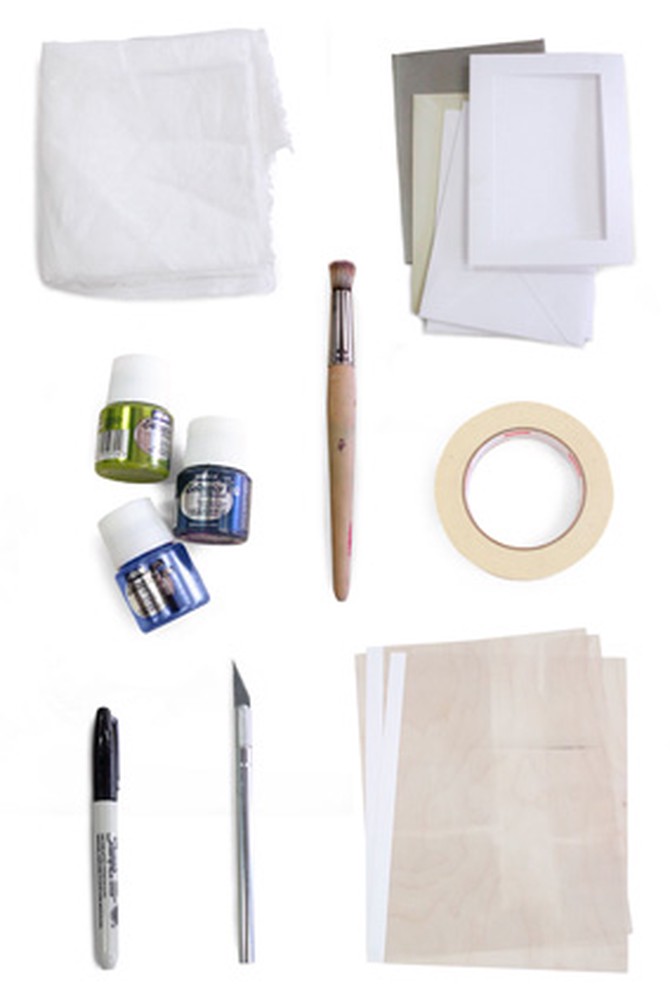
Photo: Jennifer Causey
What You'll Need
5" x 7" photo cards (they serve as the "frame" into which you'll place the stenciled fabric) with envelopes
Stencil brushes (any flat, stiff-bristle brushes will work)
X-Acto knife
Fine-tipped permanent marker
Fabric inks
Masking tape
1 yard cotton or linen, 44" wide (yields about 42 cards)
Clear plastic acetate or stencil paper (for making the stencils)
Not pictured: Iron, paper plate, rubber alphabet stamps, ink pad
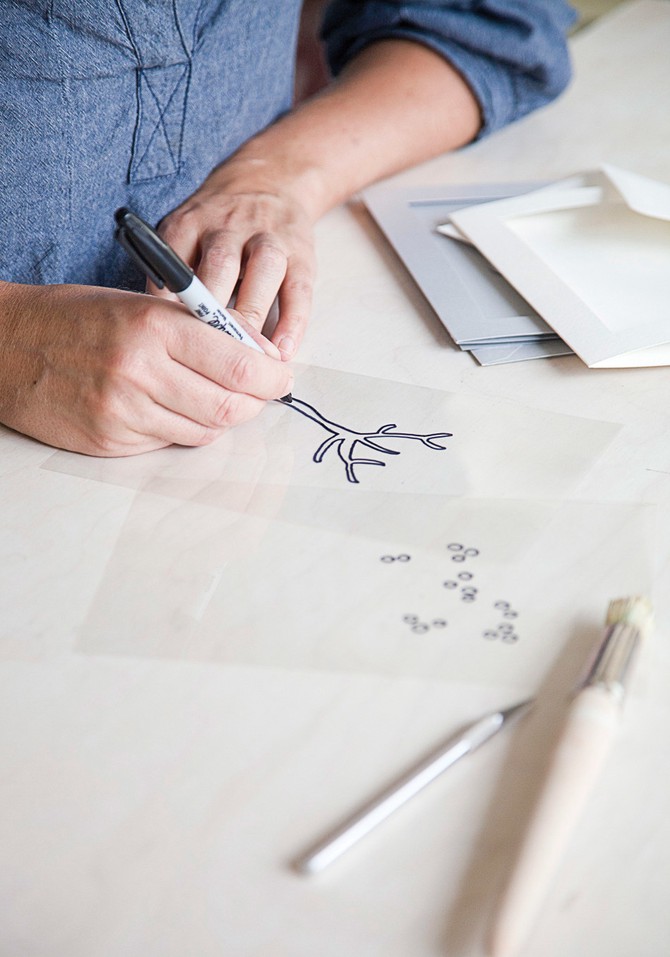
Photo: Jennifer Causey
Step 1
Iron fabric to create a flat printing surface. Cut the fabric into pieces just large enough to fit into the frame of your photo card.
With your marker, draw or trace your design (like the holly branch seen here) onto the clear acetate. This will become your stencil.
With your marker, draw or trace your design (like the holly branch seen here) onto the clear acetate. This will become your stencil.
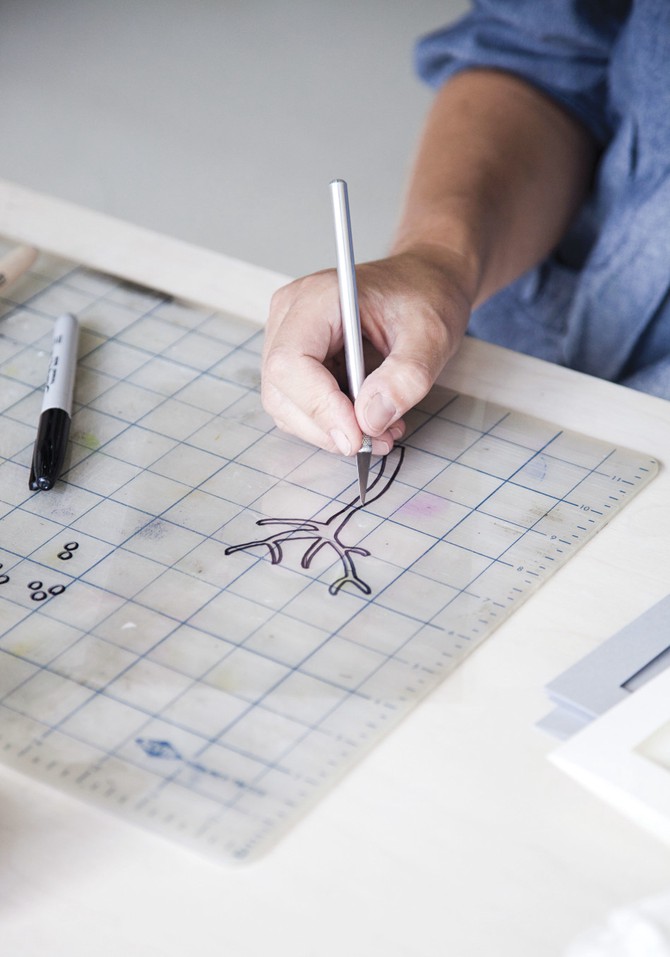
Photo: Jennifer Causey
Step 2
Cut out your design with the knife to create the stencil.
Pour a dollop of fabric ink onto a paper plate.
Pour a dollop of fabric ink onto a paper plate.
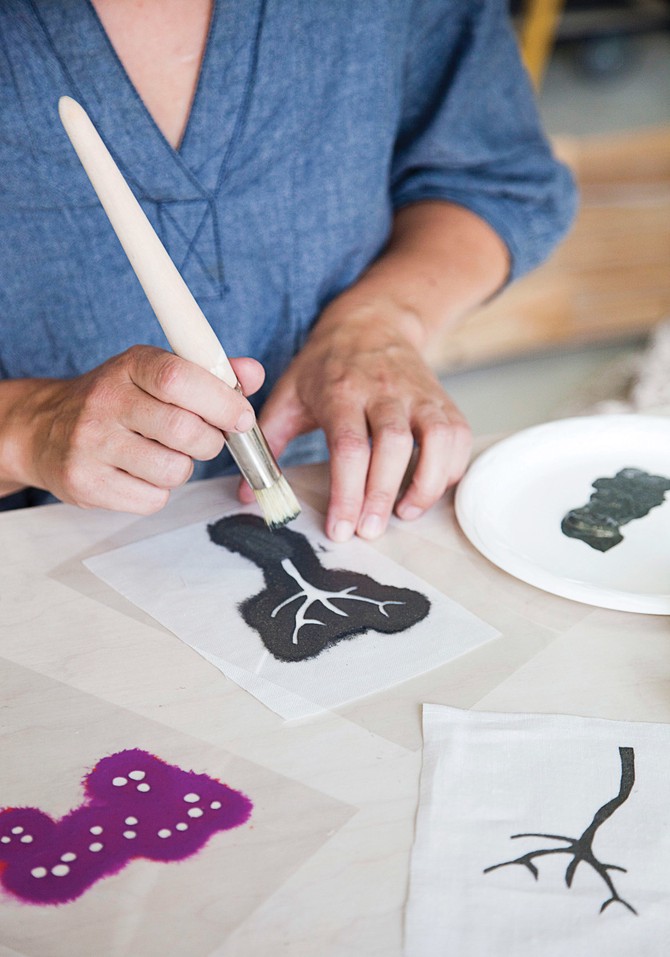
Photo: Jennifer Causey
Step 3
Place your stencil on top of the fabric, securing it with masking tape.
Dab an even amount of ink over the stencil. (Applying several thin layers of ink yields the best results.) If you're replicating Jansdotter's holly branch, stencil the branch color first, letting it dry before stenciling the berry design.
Dab an even amount of ink over the stencil. (Applying several thin layers of ink yields the best results.) If you're replicating Jansdotter's holly branch, stencil the branch color first, letting it dry before stenciling the berry design.
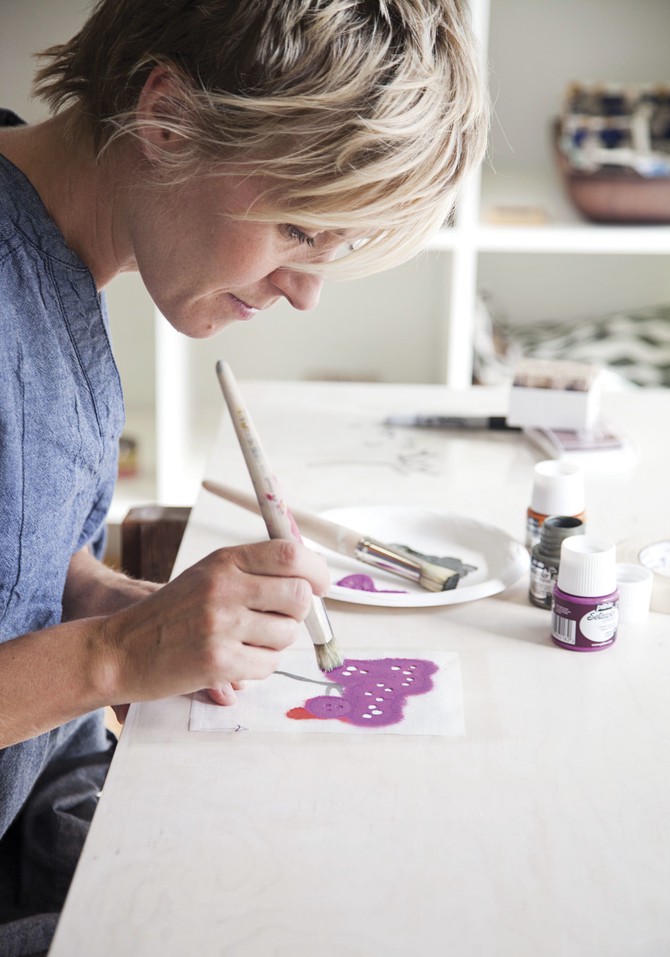
Photo: Jennifer Causey
Step 4
It's best to use a separate brush for each color.
If you want to write a holiday message on your card, use rubber alphabet stamps and a fabric-ink pad to imprint the text.
Once complete, set the inks with your iron, following the ink manufacturer's instructions.
Place your printed fabric piece in the frame, address, and mail.
Take care of the rest of your gift list—with one afternoon in the kitchen
From the December 2011 issue of O, The Oprah Magazine

