
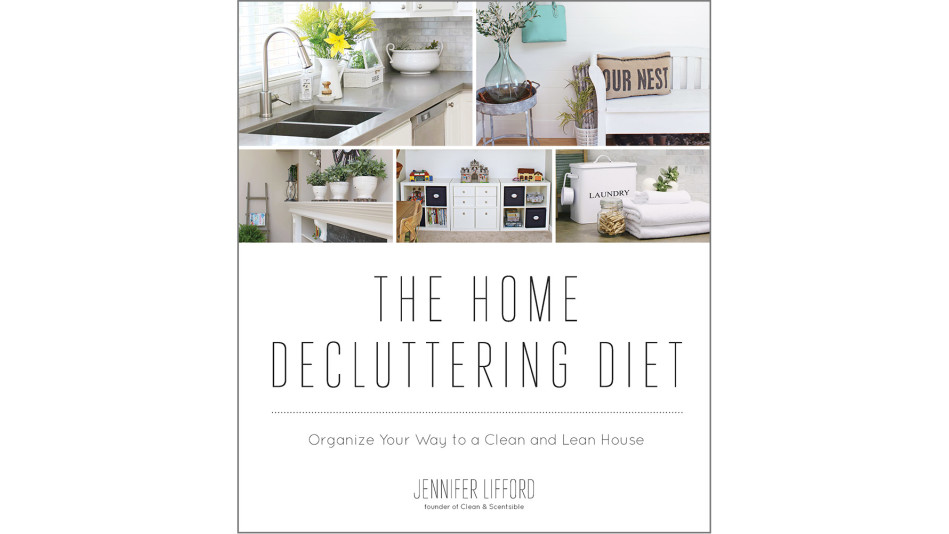
The 30-Day Clutter Detox Plan
A simple 15-minutes-a-day routine from the author of The Home Decluttering Diet.

Photo: Jennifer Lifford
This 30-day home detox helps you clear out all of those items that are clogging up your home and adding to the unhealthy weight. The plan is designed to jump-start your decluttering and organization process and target those items that are obviously unloved and unused.
During the next 30 days, you’ll be doing a quick rundown of your home and getting rid of as many items as you can in just 15 minutes per day. You can, of course, always do more; however, the idea is to keep it simple and easy to keep up with.
All you really need to get started with the detox are some garbage bags and some boxes or bins to put donation items in as well as items that belong elsewhere in your home. Keep these beside you with every space that you work on so you can sort all of your items as you go. You will likely be making multiple trips down to your local charity this month, so be prepared!
I have created a basic daily plan for the next 30 days to target pretty much every space in your home; however, I do realize that all of our spaces and needs are different. Feel free to just use this as a guideline and customize the plan to whatever will work for you. You can pick and choose whatever areas of your home need the most work. There are also some catch-up days built into the plan to allow for extra time in trouble spots or to work on areas that may be very specific to your needs. For extra-cluttered areas, you may want to spend 2 or 3 days going through things and skip some of the other tasks that are not really a problem for you. It’s all up to you—it’s your plan!
The 30-Day Home Detox Daily Plan
Day 1: Paperwork
Do you have a pile of paperwork (or two?) collecting on your kitchen counter or in your home office? Go through bills, receipts and any other paperwork, tossing (or shredding/recycling) what you don’t need and sorting whatever is left over into its proper location. If you don’t yet have a designated space for your paperwork to go, use a couple of file folders to hold important items that you need to keep—one folder for items that you need to do some kind of action with and one folder for items that just need to be filed.
Day 2: Front Entryway and Coat Closet/Mudroom
Donate any coats, shoes or accessories that you no longer use or need. If you are short on space, put items that are out of season into storage somewhere else in your home.
Day 3: Purse
Empty out all of the garbage and other items that you do not use regularly. Sort through receipts, filing what you need to keep and tossing the rest. Use a small pouch to hold makeup and other essentials so this can easily be transferred from purse to purse.
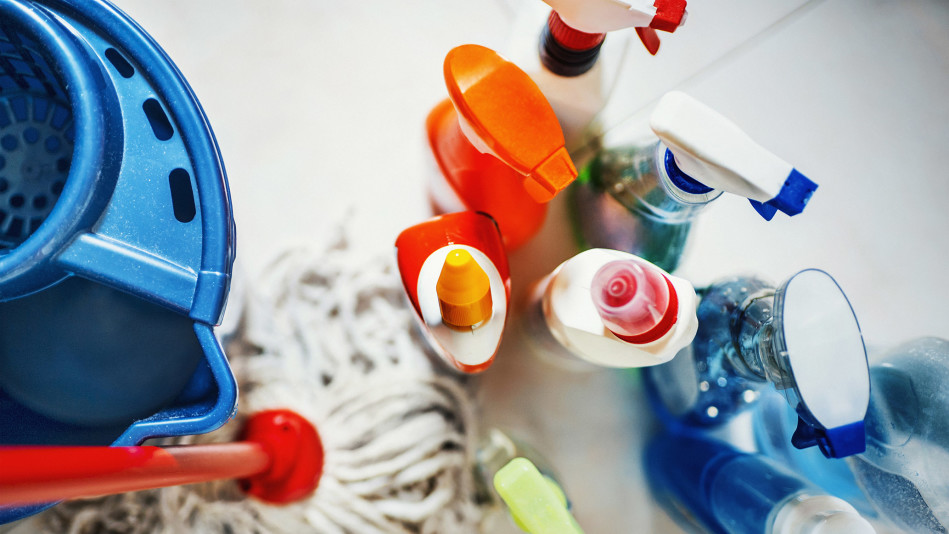 Day 4: Cleaning Supplies
Go through all of your cleaning supplies (wherever they may be!) and get rid of any products that you don’t use. Use multipurpose cleaners to cut down on the amount of cleaning supplies needed or green cleaning products whenever possible. If you have multiple, partially filled bottles of the same product, combine them into one bottle. Toss any old cleaning rags or cloths that are at the end of their use. Commit to using old bottles up before opening up or purchasing new supplies.
Day 5: Fridge and Freezer
Remove all items from the fridge and freezer that have expired or that you know you will not use. Make note of items that are close to expiring and ensure that you use these items up first. Minimize packaging whenever possible to save space.
Day 6: Pantry and Other Dry Food Storage
Toss all items that are expired and get rid of anything that you know you will not use. Don’t forget to go through all of those spices too and keep only what you use on a fairly regular basis. Place items that will be expiring soon or that you would like to use first toward the front of the cupboard.
Day 7: Free-for-All
This is your catch-up day if you didn’t finish any of the above areas. If you are all caught up, pick the most cluttered area in your home and spend some time there.
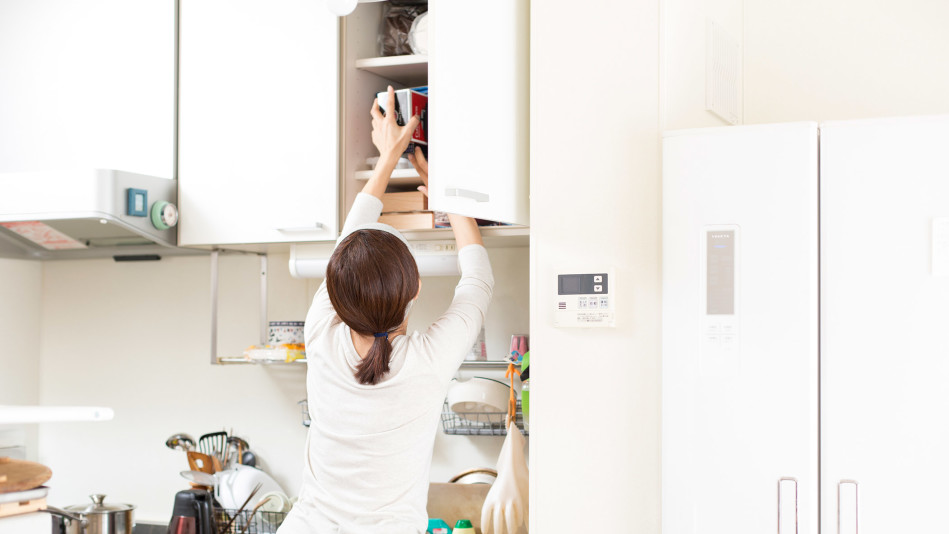
Day 8: Kitchen Cabinets
Look for any obvious kitchen items that you do not use or have room for. Ensure that all food storage containers have matching lids and eliminate as many unnecessary kitchen gadgets, cookbooks and utensils as you can. If you’re overwhelmed, just pick your messiest cabinet to address. Remember that during the detox you are just looking at those obvious items that you need to get rid of. We’ll be doing a much more thorough organization of this space when we work on the kitchen.
Day 9: Medicine Cabinet/First Aid Supplies
Medicine is actually best stored outside of the bathroom in a cool, dry place out of the reach of children. Go through all medications and look for items that are expired or that you no longer need. Return expired medications to your local pharmacy for proper disposal.
Day 10: Dining Area
Commit to keeping your dining table clutter-free. Find storage solutions for all items that frequently find their way to the table such as crafts or kids’ projects. Donate any dishes, serving ware or other items that you don’t use regularly.
Day 11: Entertainment Area
Make sure all CDs or DVDs are in their proper cases and evaluate what you really use. Music and videos are so easily accessible through computers and mobile devices these days that CDs and DVDs may be a thing of the past.
Day 12: Magazines and Books
Let go of your magazine hoarding and get rid of any outdated editions. Cut out pages that you would like to keep and sort into a filing system or binder. Recycle or donate old books that you no longer read and sort the rest in a logical order.
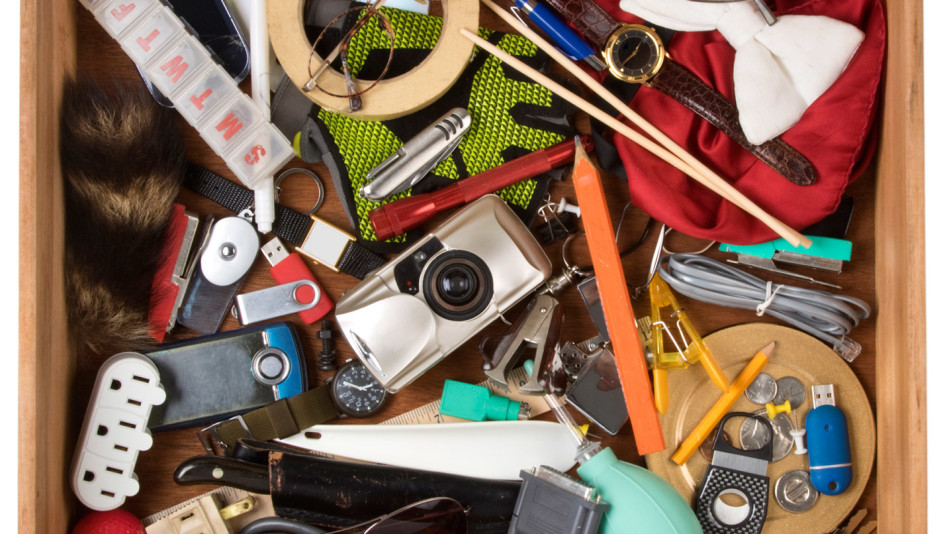
Day 13: Junk Drawer
Get rid of everything that’s not needed or used. Even though it’s called a junk drawer, remember that it’s for useful miscellaneous items, not random junk. If you have time, use inexpensive plastic containers to store similar items together. Put items that belong elsewhere away.
Day 14: Free-for-All
This is your catch-up day if you didn’t finish any of the above areas. If you are all caught up, pick the most cluttered area in your home to go through.
Day 15: Desk
File away any needed paperwork and shred remaining papers with personal information. Sort smaller office supplies into handy containers and only keep products that you use. Get rid of any old calendars or planners.
Day 16: Bathroom Cabinets
Sort through your beauty products and keep only what you really use. Place items that are partially done toward the front of the cupboard so you can use those up first. Toss hotel shampoos or soaps if you have had them for a while and not used them.
Day 17: Linen Closet
Donate any linens that you no longer use that are still in good condition. Often, animal and homeless shelters are places that need linens most. Toss any items that are really dingy or have holes.
Day 18: Makeup
Toss anything that has expired, is cracked or is no longer your style. Pick your favorites and get rid of those other 10 lipstick tubes that you never wear.
Day 19: Jewelry
Sort through all of your jewelry and decide what items you still wear. Toss costume jewelry pieces that are tarnished or broken and donate the rest. If you have more expensive jewelry items that are in need of repair or professional maintenance, keep these aside to take down to a jeweler as soon as you can.
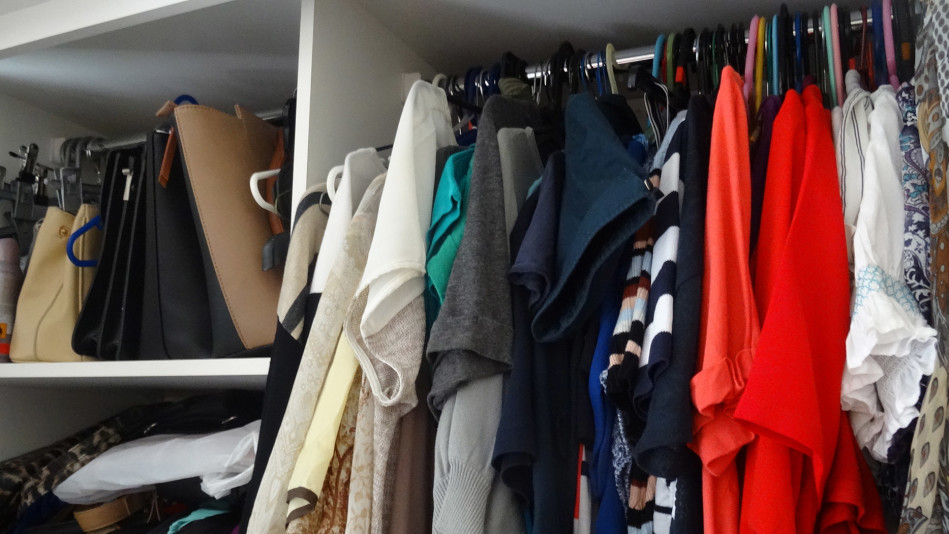
Day 20: Bedroom Closet
Sort through your closet and donate items that you obviously don’t wear or don’t fit you.
Day 21: Free-for-All
This is your catch-up day if you didn’t finish any of the above areas. If you are all caught up, pick the most cluttered area in your home to go through.
Day 22: Sock and Underwear Drawer
Go through all of those socks and lingerie items. Make sure you have matching socks with no holes and toss items that are extremely worn or that you no longer wear.
Day 23: Nightstand
Clear off the tabletop and sort through drawers, keeping only what you would need before bed or during the night.
Day 24: Kids’ Toys
This is always a fun one. Sort through toys to see what your kids still use (and have your kids help out on this one if they are old enough). Check to see that toys have all parts and are in working order before donating or selling. Toss the rest!
Day 25: Kids’ Closets
Check to see what clothes still fit and donate the old ones or sort them into a labeled storage bin if you are saving them for younger children.
Day 26: Craft Space
Be ruthless and really evaluate what items you still need and use. Schools will often take extra supplies that you are looking to get rid of.
Day 27: Laundry Room
Sort through cupboards for any laundry products that are old or not used. Toss any unpaired socks that are hanging around.
Day 28: Free-for-All
This is your catch-up day if you didn’t finish any of the above areas. If you are all caught up, pick the most cluttered area in your home to go through.
Day 29: Basement
Chances are this is one of the biggest sources of clutter. Set a timer and get rid of as many items as possible. Use large storage totes to store seasonal items together.
Day 30: Garage
This one is also a big clutter offender. Again, set a timer and collect as many items as you can that you no longer use or need.
Day 31: Car
Grab two bags—one for garbage and one for anything that needs to go back in the house. Put everything away in its proper place that you bring back into the house.

Tips for a Successful Detox
There’s really only one main goal throughout these 30 days: to eliminate as much of your excess home weight as possible. Look primarily at all of that surface clutter that’s always staring you in the face or those areas of your home that are a constant frustration for you. I realize that it’s sometimes hard to get started, but once you do, it can really be exciting to see some of that weight come off!
I’ve put together some tips to keep in mind as you work your way through the next 30 days. These will hopefully help you to stay on track and optimize your home weight loss. Refer back to them as needed if you find yourself getting stuck or feel that you are starting to lose some of your motivation. Always remember your end goals and think about how light your home and mind will feel when all of that extra weight is gone!
Pace Yourself
Remember that this is just a quick, surface decluttering. We have a lot of organization ahead of us; don’t get burned out now! You’ll be going through all of these areas again in much greater detail when we work on the individual rooms—this detox is to lighten the load a bit so you don’t have as much stuff to sort through. It has likely taken you years to accumulate all of your stuff, so don’t feel bad if it takes you some time to get rid of it. Slow and steady wins the race!
Stay Focused
If you have a lot of decluttering to do, it can be really easy to get overwhelmed and get off track. Just remember you only have to do 15 minutes per day, and it’s only one small space. If you’re feeling inspired you can always do more, but pull out only what you have time to sort through and put back. You don’t want to end up with a bigger mess than what you started with.
Keep an Organization Notebook or Binder
I recommend that you keep a notebook or binder to use throughout these 30 days. As you go through your spaces, you will likely have organization or project ideas that come to mind and, unless you write them down, you may not remember them when you get back to that room again. Your notebook can also serve as a place to write down inspirational quotes or thoughts that you may have to help encourage you on your journey. It doesn’t have to be anything fancy—any notebook will do. Just make sure that it’s specifically dedicated to your organization journey and that you have a designated spot for it in your home.
Don’t Let Perfection Get in the Way
Again, this is a quick decluttering with the main focus being on shedding those pounds! Spend all of your time getting rid of things rather than getting caught up in making things look pretty and organized. There will be plenty of time for this later when you are working on the individual rooms. Don’t think about it too much and just get started!
Be Flexible
While the plan is set up as a daily plan, we all know that life can sometimes get in the way. If you fall off of the plan for a couple of days, don’t let this be an excuse to stop! You can either extend the detox for a few days at the end or do a couple of areas per day until you are caught up again. If the daily plan really doesn’t work for you, just dedicate a longer period of time to work on your areas a couple of times per week instead. It’s all about finding what works best for you.
Use the Timer Method
If you find that you are constantly getting distracted when you are working on your decluttering tasks, put on the timer. Pick a set amount of time, set your timer and commit to not doing anything else during this time. If your phone is a distraction, put it away where you can’t hear it. Work as fast as you can while the timer is on and make it a game to see how many items you can come up with to get rid of. It may sound strange, but this method works extremely well for me.
Get Your Family Involved
If you really want to get a jump on that home weight loss, have your partner or kids (if they are old enough) join in on the plan. If they, too, get rid of 10 items per day, the weight will really fall off and you can double or triple the amount of clutter that you get rid of. Have them focus on areas that are specific to their items, and you will have more time for other areas of the house.
Excerpted from The Home Decluttering Diet: Organize Your Way to a Clean and Lean House by Jennifer Lifford. Copyright © 2017 by Jennifer Lifford. Reprinted with permission by Page Street Publishing Co.
Photo credits from top: gilaxia, kazoka30, Johnrob, DLMcK, KatarzynaBialasiewicz / istock
During the next 30 days, you’ll be doing a quick rundown of your home and getting rid of as many items as you can in just 15 minutes per day. You can, of course, always do more; however, the idea is to keep it simple and easy to keep up with.
All you really need to get started with the detox are some garbage bags and some boxes or bins to put donation items in as well as items that belong elsewhere in your home. Keep these beside you with every space that you work on so you can sort all of your items as you go. You will likely be making multiple trips down to your local charity this month, so be prepared!
I have created a basic daily plan for the next 30 days to target pretty much every space in your home; however, I do realize that all of our spaces and needs are different. Feel free to just use this as a guideline and customize the plan to whatever will work for you. You can pick and choose whatever areas of your home need the most work. There are also some catch-up days built into the plan to allow for extra time in trouble spots or to work on areas that may be very specific to your needs. For extra-cluttered areas, you may want to spend 2 or 3 days going through things and skip some of the other tasks that are not really a problem for you. It’s all up to you—it’s your plan!
The 30-Day Home Detox Daily Plan
Day 1: Paperwork
Do you have a pile of paperwork (or two?) collecting on your kitchen counter or in your home office? Go through bills, receipts and any other paperwork, tossing (or shredding/recycling) what you don’t need and sorting whatever is left over into its proper location. If you don’t yet have a designated space for your paperwork to go, use a couple of file folders to hold important items that you need to keep—one folder for items that you need to do some kind of action with and one folder for items that just need to be filed.
Day 2: Front Entryway and Coat Closet/Mudroom
Donate any coats, shoes or accessories that you no longer use or need. If you are short on space, put items that are out of season into storage somewhere else in your home.
Day 3: Purse
Empty out all of the garbage and other items that you do not use regularly. Sort through receipts, filing what you need to keep and tossing the rest. Use a small pouch to hold makeup and other essentials so this can easily be transferred from purse to purse.
Day 4: Cleaning Supplies
Go through all of your cleaning supplies (wherever they may be!) and get rid of any products that you don’t use. Use multipurpose cleaners to cut down on the amount of cleaning supplies needed or green cleaning products whenever possible. If you have multiple, partially filled bottles of the same product, combine them into one bottle. Toss any old cleaning rags or cloths that are at the end of their use. Commit to using old bottles up before opening up or purchasing new supplies.
Day 5: Fridge and Freezer
Remove all items from the fridge and freezer that have expired or that you know you will not use. Make note of items that are close to expiring and ensure that you use these items up first. Minimize packaging whenever possible to save space.
Day 6: Pantry and Other Dry Food Storage
Toss all items that are expired and get rid of anything that you know you will not use. Don’t forget to go through all of those spices too and keep only what you use on a fairly regular basis. Place items that will be expiring soon or that you would like to use first toward the front of the cupboard.
Day 7: Free-for-All
This is your catch-up day if you didn’t finish any of the above areas. If you are all caught up, pick the most cluttered area in your home and spend some time there.
Day 8: Kitchen Cabinets
Look for any obvious kitchen items that you do not use or have room for. Ensure that all food storage containers have matching lids and eliminate as many unnecessary kitchen gadgets, cookbooks and utensils as you can. If you’re overwhelmed, just pick your messiest cabinet to address. Remember that during the detox you are just looking at those obvious items that you need to get rid of. We’ll be doing a much more thorough organization of this space when we work on the kitchen.
Day 9: Medicine Cabinet/First Aid Supplies
Medicine is actually best stored outside of the bathroom in a cool, dry place out of the reach of children. Go through all medications and look for items that are expired or that you no longer need. Return expired medications to your local pharmacy for proper disposal.
Day 10: Dining Area
Commit to keeping your dining table clutter-free. Find storage solutions for all items that frequently find their way to the table such as crafts or kids’ projects. Donate any dishes, serving ware or other items that you don’t use regularly.
Day 11: Entertainment Area
Make sure all CDs or DVDs are in their proper cases and evaluate what you really use. Music and videos are so easily accessible through computers and mobile devices these days that CDs and DVDs may be a thing of the past.
Day 12: Magazines and Books
Let go of your magazine hoarding and get rid of any outdated editions. Cut out pages that you would like to keep and sort into a filing system or binder. Recycle or donate old books that you no longer read and sort the rest in a logical order.
Day 13: Junk Drawer
Get rid of everything that’s not needed or used. Even though it’s called a junk drawer, remember that it’s for useful miscellaneous items, not random junk. If you have time, use inexpensive plastic containers to store similar items together. Put items that belong elsewhere away.
Day 14: Free-for-All
This is your catch-up day if you didn’t finish any of the above areas. If you are all caught up, pick the most cluttered area in your home to go through.
Day 15: Desk
File away any needed paperwork and shred remaining papers with personal information. Sort smaller office supplies into handy containers and only keep products that you use. Get rid of any old calendars or planners.
Day 16: Bathroom Cabinets
Sort through your beauty products and keep only what you really use. Place items that are partially done toward the front of the cupboard so you can use those up first. Toss hotel shampoos or soaps if you have had them for a while and not used them.
Day 17: Linen Closet
Donate any linens that you no longer use that are still in good condition. Often, animal and homeless shelters are places that need linens most. Toss any items that are really dingy or have holes.
Day 18: Makeup
Toss anything that has expired, is cracked or is no longer your style. Pick your favorites and get rid of those other 10 lipstick tubes that you never wear.
Day 19: Jewelry
Sort through all of your jewelry and decide what items you still wear. Toss costume jewelry pieces that are tarnished or broken and donate the rest. If you have more expensive jewelry items that are in need of repair or professional maintenance, keep these aside to take down to a jeweler as soon as you can.
Day 20: Bedroom Closet
Sort through your closet and donate items that you obviously don’t wear or don’t fit you.
Day 21: Free-for-All
This is your catch-up day if you didn’t finish any of the above areas. If you are all caught up, pick the most cluttered area in your home to go through.
Day 22: Sock and Underwear Drawer
Go through all of those socks and lingerie items. Make sure you have matching socks with no holes and toss items that are extremely worn or that you no longer wear.
Day 23: Nightstand
Clear off the tabletop and sort through drawers, keeping only what you would need before bed or during the night.
Day 24: Kids’ Toys
This is always a fun one. Sort through toys to see what your kids still use (and have your kids help out on this one if they are old enough). Check to see that toys have all parts and are in working order before donating or selling. Toss the rest!
Day 25: Kids’ Closets
Check to see what clothes still fit and donate the old ones or sort them into a labeled storage bin if you are saving them for younger children.
Day 26: Craft Space
Be ruthless and really evaluate what items you still need and use. Schools will often take extra supplies that you are looking to get rid of.
Day 27: Laundry Room
Sort through cupboards for any laundry products that are old or not used. Toss any unpaired socks that are hanging around.
Day 28: Free-for-All
This is your catch-up day if you didn’t finish any of the above areas. If you are all caught up, pick the most cluttered area in your home to go through.
Day 29: Basement
Chances are this is one of the biggest sources of clutter. Set a timer and get rid of as many items as possible. Use large storage totes to store seasonal items together.
Day 30: Garage
This one is also a big clutter offender. Again, set a timer and collect as many items as you can that you no longer use or need.
Day 31: Car
Grab two bags—one for garbage and one for anything that needs to go back in the house. Put everything away in its proper place that you bring back into the house.
Tips for a Successful Detox
There’s really only one main goal throughout these 30 days: to eliminate as much of your excess home weight as possible. Look primarily at all of that surface clutter that’s always staring you in the face or those areas of your home that are a constant frustration for you. I realize that it’s sometimes hard to get started, but once you do, it can really be exciting to see some of that weight come off!
I’ve put together some tips to keep in mind as you work your way through the next 30 days. These will hopefully help you to stay on track and optimize your home weight loss. Refer back to them as needed if you find yourself getting stuck or feel that you are starting to lose some of your motivation. Always remember your end goals and think about how light your home and mind will feel when all of that extra weight is gone!
Pace Yourself
Remember that this is just a quick, surface decluttering. We have a lot of organization ahead of us; don’t get burned out now! You’ll be going through all of these areas again in much greater detail when we work on the individual rooms—this detox is to lighten the load a bit so you don’t have as much stuff to sort through. It has likely taken you years to accumulate all of your stuff, so don’t feel bad if it takes you some time to get rid of it. Slow and steady wins the race!
Stay Focused
If you have a lot of decluttering to do, it can be really easy to get overwhelmed and get off track. Just remember you only have to do 15 minutes per day, and it’s only one small space. If you’re feeling inspired you can always do more, but pull out only what you have time to sort through and put back. You don’t want to end up with a bigger mess than what you started with.
Keep an Organization Notebook or Binder
I recommend that you keep a notebook or binder to use throughout these 30 days. As you go through your spaces, you will likely have organization or project ideas that come to mind and, unless you write them down, you may not remember them when you get back to that room again. Your notebook can also serve as a place to write down inspirational quotes or thoughts that you may have to help encourage you on your journey. It doesn’t have to be anything fancy—any notebook will do. Just make sure that it’s specifically dedicated to your organization journey and that you have a designated spot for it in your home.
Don’t Let Perfection Get in the Way
Again, this is a quick decluttering with the main focus being on shedding those pounds! Spend all of your time getting rid of things rather than getting caught up in making things look pretty and organized. There will be plenty of time for this later when you are working on the individual rooms. Don’t think about it too much and just get started!
Be Flexible
While the plan is set up as a daily plan, we all know that life can sometimes get in the way. If you fall off of the plan for a couple of days, don’t let this be an excuse to stop! You can either extend the detox for a few days at the end or do a couple of areas per day until you are caught up again. If the daily plan really doesn’t work for you, just dedicate a longer period of time to work on your areas a couple of times per week instead. It’s all about finding what works best for you.
Use the Timer Method
If you find that you are constantly getting distracted when you are working on your decluttering tasks, put on the timer. Pick a set amount of time, set your timer and commit to not doing anything else during this time. If your phone is a distraction, put it away where you can’t hear it. Work as fast as you can while the timer is on and make it a game to see how many items you can come up with to get rid of. It may sound strange, but this method works extremely well for me.
Get Your Family Involved
If you really want to get a jump on that home weight loss, have your partner or kids (if they are old enough) join in on the plan. If they, too, get rid of 10 items per day, the weight will really fall off and you can double or triple the amount of clutter that you get rid of. Have them focus on areas that are specific to their items, and you will have more time for other areas of the house.
Excerpted from The Home Decluttering Diet: Organize Your Way to a Clean and Lean House by Jennifer Lifford. Copyright © 2017 by Jennifer Lifford. Reprinted with permission by Page Street Publishing Co.
Photo credits from top: gilaxia, kazoka30, Johnrob, DLMcK, KatarzynaBialasiewicz / istock
NEXT STORY
