6 Incredible Napkin-Folding Ideas
This finishing touch can take your table from everyday to extraordinary. The best part? The designs are far easier to master than they look.
By Candace Braun Davison
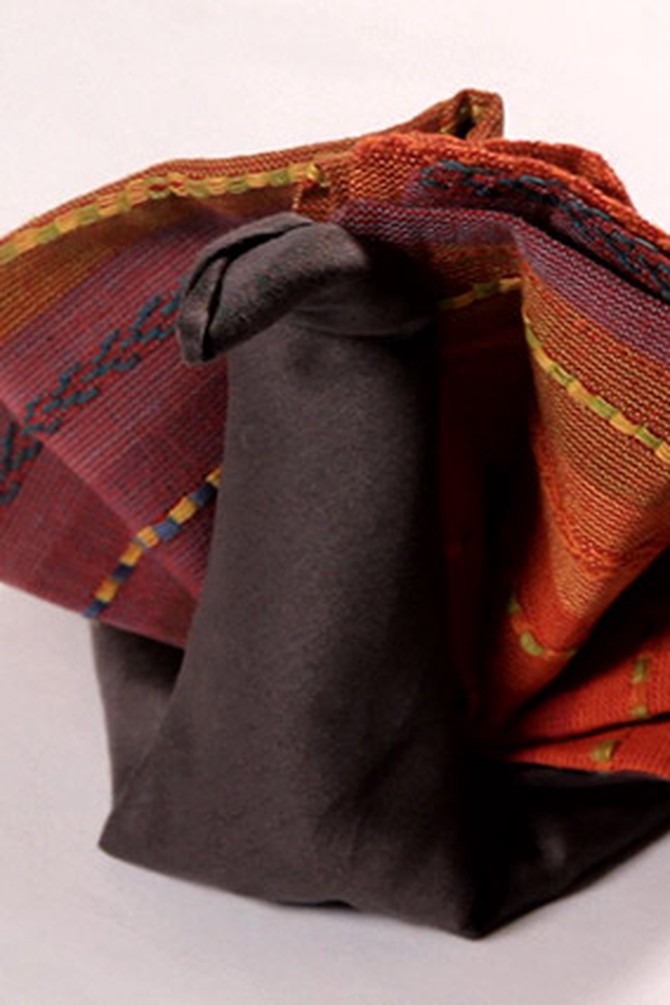
Photo: Thinkstock
The Ultimate Thanksgiving Table Topper
Even the grumbliest guest will crack a smile after one glimpse of these turkey napkins. Each gobbler takes two napkins to build—one for the body, another for the tail feathers—and there are two secrets to mastering this fold, says designer and napkin-folding expert Jessie Kaye. First, once you've folded the "body" napkin into a square shape, slide a 2- or 3-inch square of aluminum foil between the folds. This stiffens the body and lets you mold the beak a bit. Second, spray starch onto the "tail" napkin and iron it before you fold it. This creates crisp, defined edges and keeps the napkin from drooping, Kaye explains. For step-by-step instructions, watch her simple video tutorial.
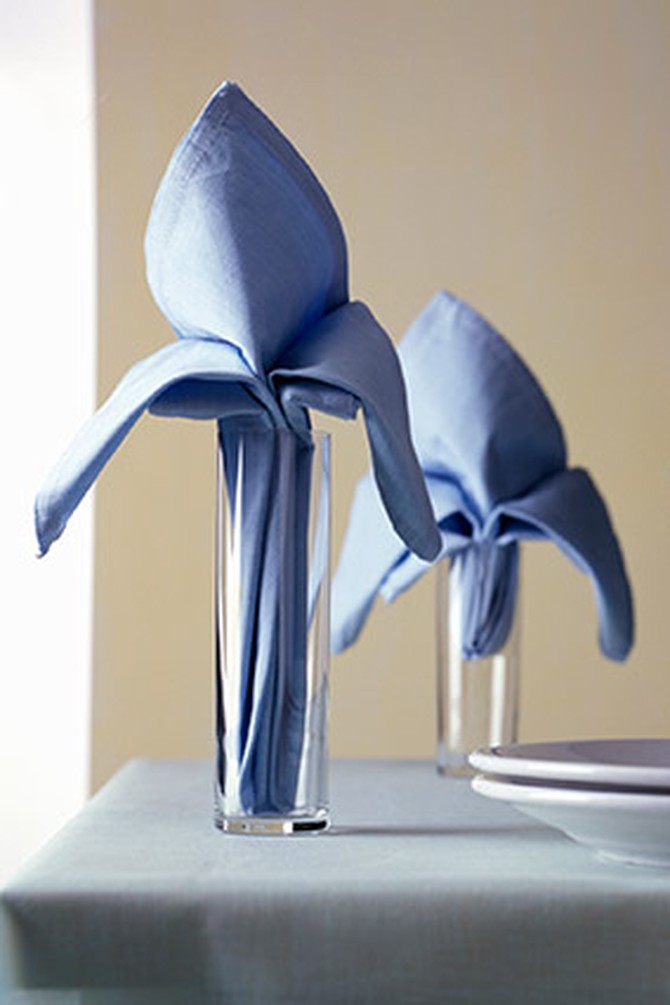
Photo: Thinkstock
The Classic Design Worth Raising a Glass For
If you're short on time and want to make a big impact on your table, this is the fold to try. The fastest way to create the fleur-de-lis design is using a square dinner napkin instead of a rectangular one, Kaye says. You can watch her complete video how-to here, which essentially involves making four folds with the napkin and placing the bottom point of the napkin into a glass, as shown, or sliding a napkin ring over it and placing one atop each plate, as Kaye does.
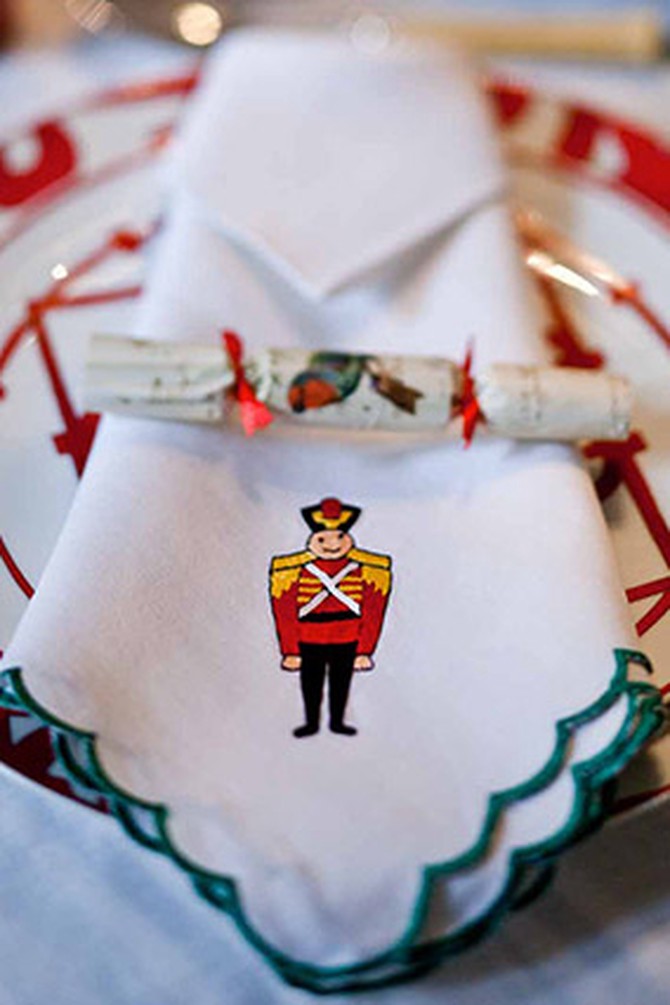
Photo: Courtesy of Danielle Rollins
A Timeless Look That Works Year-Round
When it comes to displaying embroidered or monogrammed napkins, entertaining expert Danielle Rollins recommends her go-to style: the cuff. Fold the napkin into a square, with the design face-up. Turn the square 90 degrees so it looks like a diamond shape, with the design closest to you. Flip the top (or north) corner over and fold the left and right corners under, so it forms a long, necktie-like shape. For photos outlining each step, visit DanielleDRollins.com.
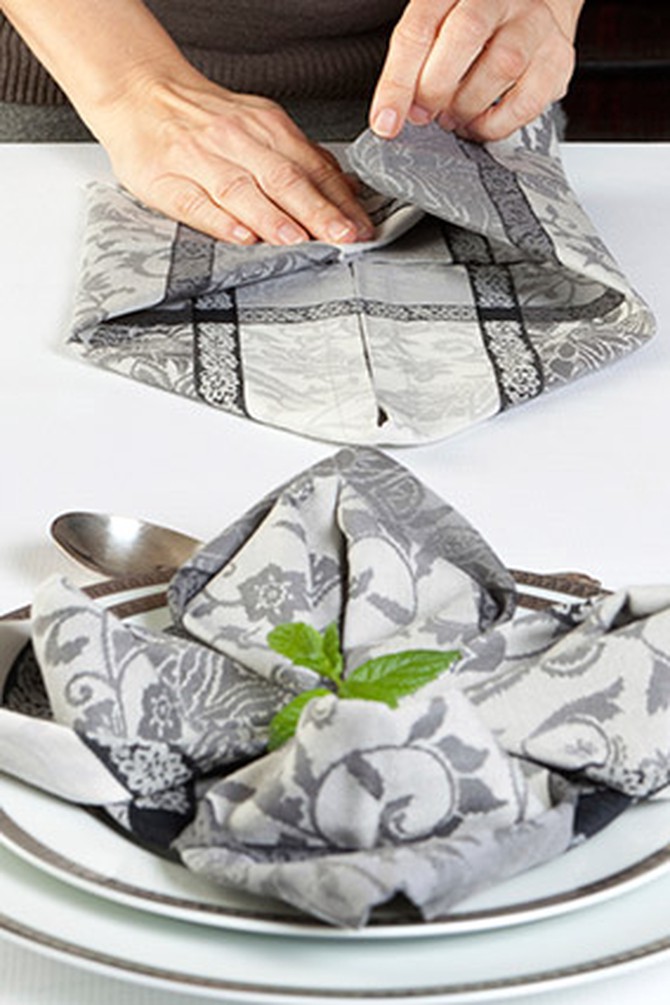
Photo: Thinkstock
The Floral Design That's Just as Pretty as the Real Thing
Some call it a lotus, some call it a poinsettia, but we bet your guests will call it incredible. Chinet offers a video tutorial here, as well as downloadable instructions featuring a picture outlining each step. The look may seem complex, but Kaye recommends thinking of each step in terms of the basic shape you need to create: rectangle, triangle, square and so on. "It's a lot less intimidating that way," she says.
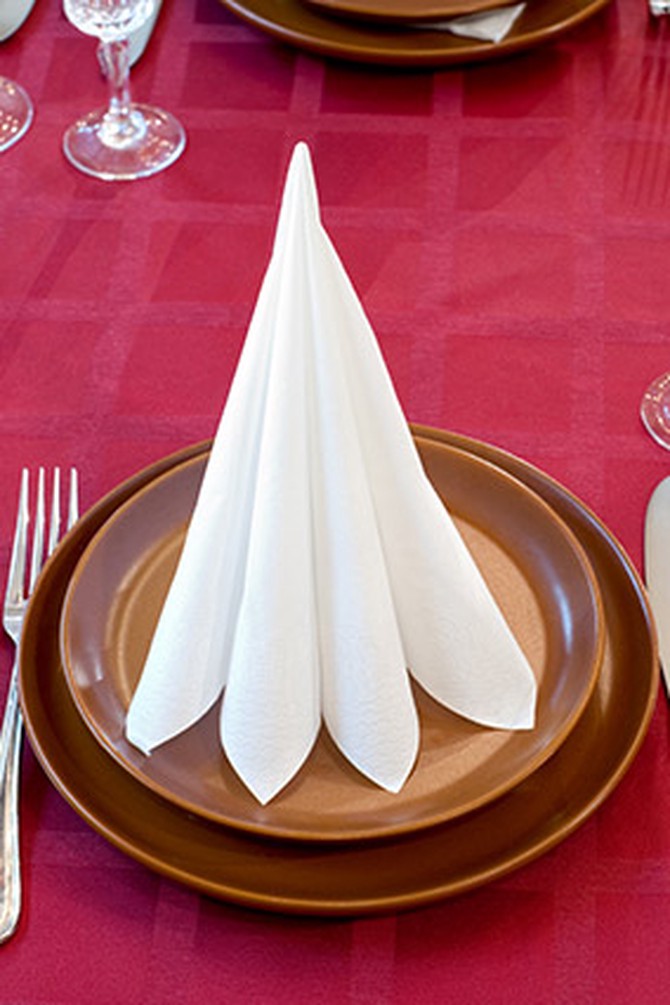
Photo: Thinkstock
A Festive Way to Deck the Tabletop
These miniature Christmas trees are so eye-catching you may not want to bother with a centerpiece. Kaye offers a complete video tutorial here, and like with the turkey fold, suggests spraying starch and ironing the napkins first so the shape stays crisp. You'll need a pin or paper clip to hold the top of the tree together so the folds don't unravel. For an extra flourish, use the pin to also attach a paper star to the top, Kaye says.
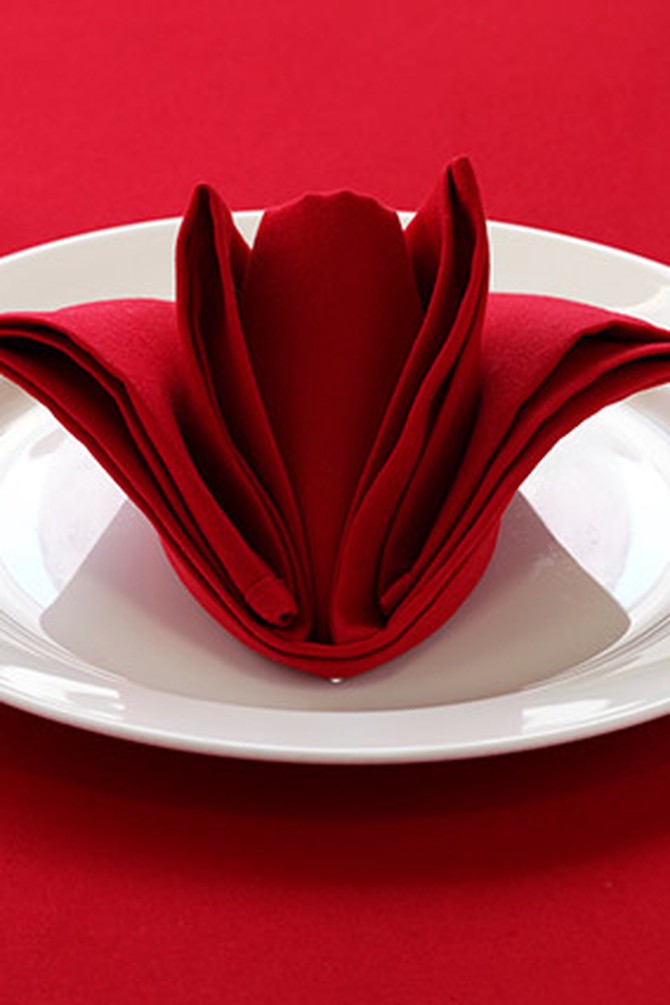
Photo: Thinkstock
The Popular Style That Will Never Wilt
Though this fold is called Rose Bud, it's not just a springtime style. The design is abstract enough that in warm harvest colors, like burgundy or burnt orange, it works just as well for the holiday season. And it's so easy to create that NapkinWizard.com founder Jimmy Ng demonstrates it in a quick, 1 1/2-minute video.
Next: 11 ways to get the prettiest table
Next: 11 ways to get the prettiest table
Published 10/09/2013

