Adam Glassman's 4 Steps to Perfectly Decorated Walls
O's creative director shows one homeowner how to create a stunning photo montage.
By Meredith Bryan
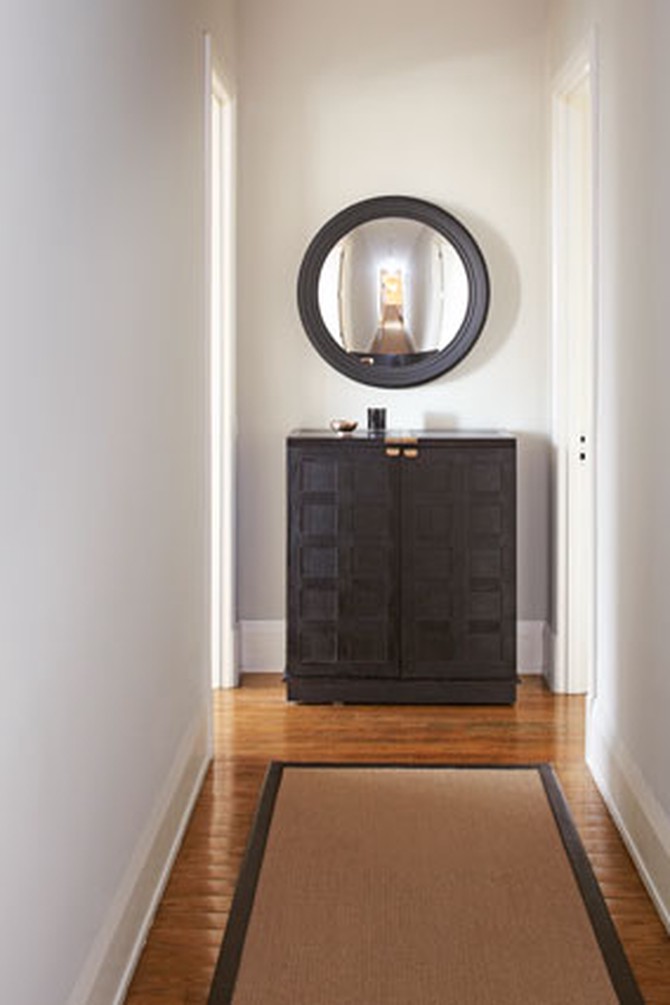
Photo: David Land
Alicia's Hallway, Before
When Alicia Wilfork, 33, bought a Manhattan apartment with her husband five years ago, she sold most of the Ikea furniture they'd been accumulating since college and hired a designer to turn the loftlike space into what she calls "our first real home." But it's expensive to start from scratch, and Wilfork, a former advertising executive, found that such basics as a sofa, bed, and window treatments ate up much of their budget. "We figured we'd just do the finishing touches ourselves," she says. "Unfortunately, that's meant we've had nothing on our walls for almost five years. We're just so afraid to do something wrong!"
Enter Adam Glassman, O's creative director, whose eye for tasteful embellishment extends even to home decorating. When Glassman discovers that Wilfork has more than 4,000 photos from trips to places like Thailand, China, and South Africa on her computer, his eyes light up. The pictures are just what he needs to give the Wilforks' space "the layered effect"—that ineffable sense of personal style that's all in the details.
Next: Alicia's hallway gets transformed
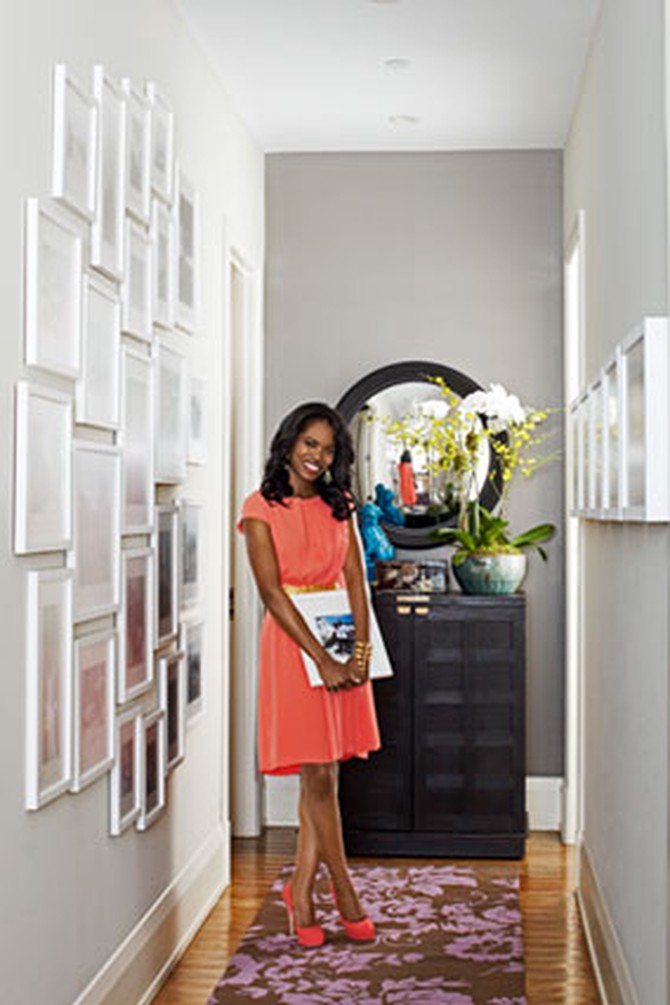
Photo: David Land
Alicia's Hallway, After
Glassman helps Wilfork upload a selection of shots to the Web site pictureframes.com to be custom-matted and framed in white (which he says "makes the pictures sing") and delivered to Wilfork's door. Next, he arranges a colorful gallery on the barren wall leading to the apartment's bedrooms, instantly bringing a vibrant intimacy to the space. A coat of dark taupe paint on the back wall "warms things up" and creates a focal point. Wilfork is elated. "I've wanted to do something with our photos for ages, but it seemed so overwhelming," she says. "Now when I walk down the hall, they make me smile."
Next: Adam's step-by-step instructions to create your own photo montage gallery
Next: Adam's step-by-step instructions to create your own photo montage gallery
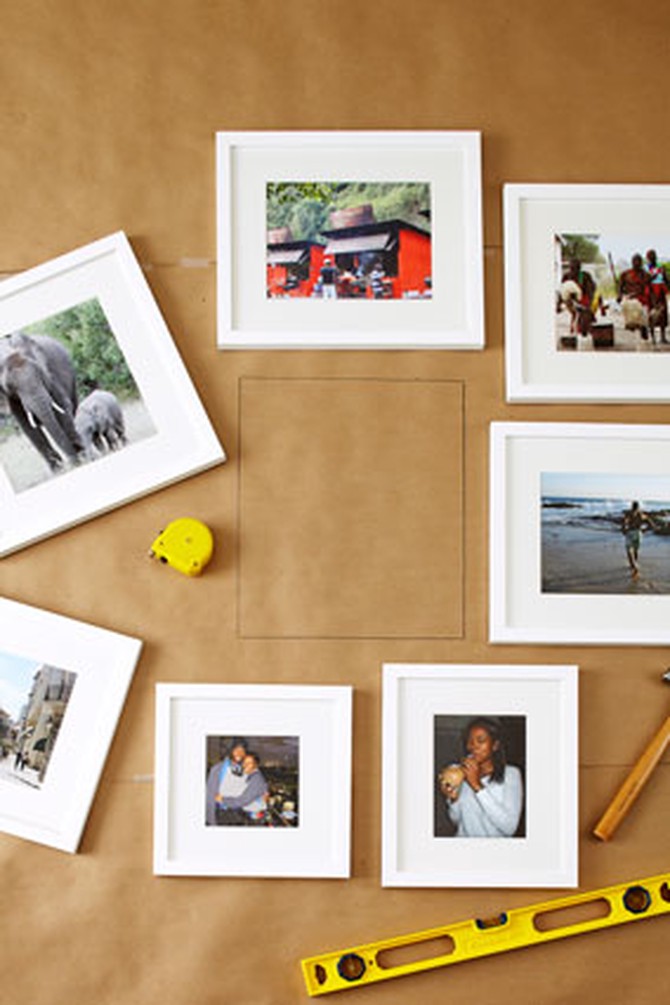
Photo: David Land
How to Create a Photo Montage Gallery
Step 1: Choose a consistent organizing principle by keeping all your frames the same color and the matte size uniform. Another idea: Print the photos in black-and-white.
Step 2: Arrange frames on kraft paper on the floor, largest in the center, keeping a distance of two to three inches between them. Trace each with a pencil.
Step 2: Arrange frames on kraft paper on the floor, largest in the center, keeping a distance of two to three inches between them. Trace each with a pencil.
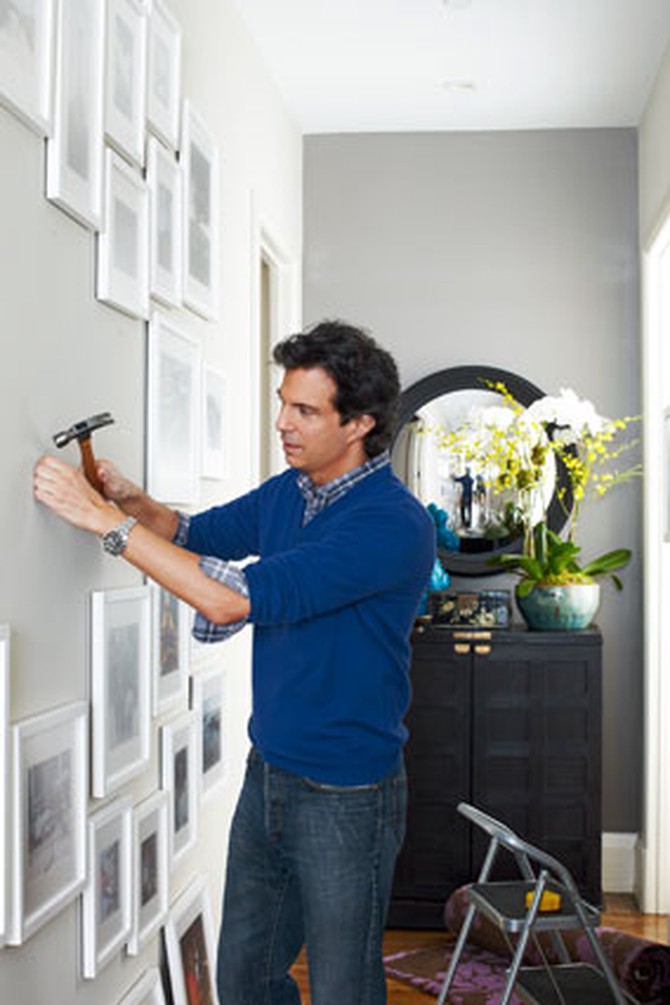
Photo: David Land
Step 3: Tack the paper to the wall and hammer nails directly through it for perfect placement; leave two to five inches between the collage and any doorjambs.
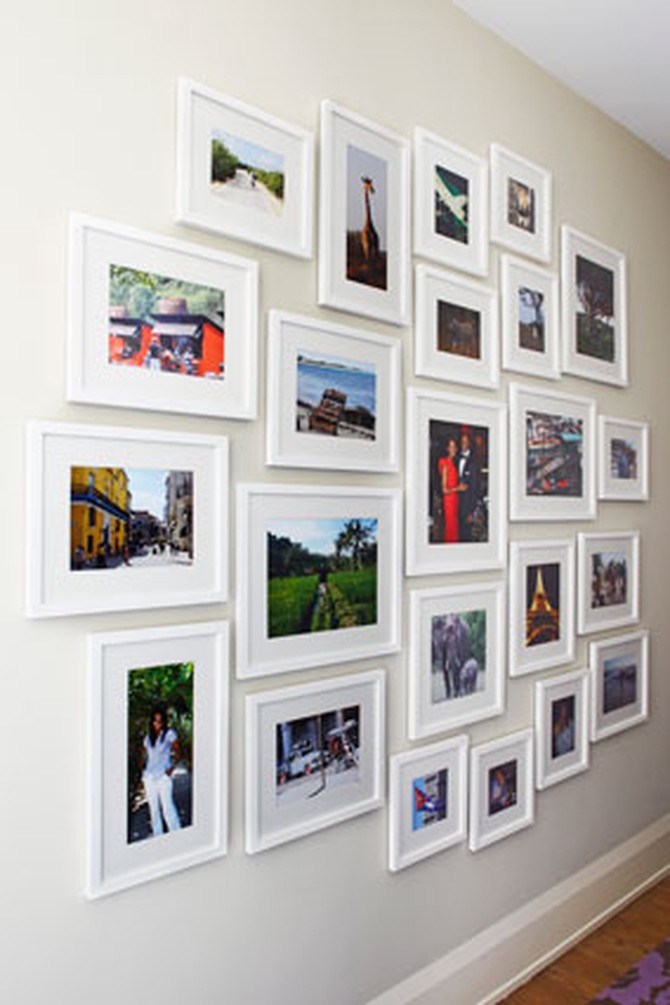
Photo: David Land
Step 4: Hang scenic, airier shots up high, mix light and dark shots, and keep all eyes—whether they're human or giraffe—facing the center to create a sense of balance.
Published 02/11/2011

