The Beginner's Guide to Shaping Your Eyebrows for the First Time
The five essential steps to grooming on your own.

Photo: Christopher Robbins
If your brows are looking less Brooke Shields and more Bert from Sesame Street, join the club. As large portions of the country continue to social distance, seeing a pro right now for your usual shape-up is not an option. While shaping your eyebrows at home can seem daunting, there's some basic maintenance that can be easily executed with a little know-how.
Properly groomed eyebrows can make a big difference in your overall appearance, helping to frame your face and balance your overall features. "Most people aren't completely symmetrical," says Benefit Cosmetics Global Brow Expert Jared Bailey. "But properly looked-after brows can actually create the illusion of evenness." Not to mention the fact that our brows naturally thin with age, so maintaining them is like a little drop of the Fountain of Youth. Personally, I'd be lost without my Sania's Brow Bar pencil.
But before you begin, know that now is not the time to do anything crazy. "I wouldn't recommend attempting a complete brow overhaul," Bailey says. Also, don't rush. "This isn't something you want to do if you only have ten minutes before a Zoom meeting," adds brow specialist Joey Healy, owner of the New York City-based Joey Healy Brow Studio. Set aside about a half hour of your time, and follow these simple steps to shape your eyebrows at home.
Step 1: Gather your supplies—and find natural light.
The right tools are the foundation of every good eyebrow shape—both in a salon and at home. You'll need a brow pencil, slanted stainless steel tweezers, a spoolie brush, and a pair of small, sharp brow scissors, says Healy. Instead of the brush, Bailey recommends a clear brow gel—your choice, really. Another item you may want to have at the ready, adds Bailey, are some cold compresses you've created by soaking cotton rounds or soft paper towels in water and chilling them in the fridge (more on that below).
One other step before you start shaping your eyebrows: Wash your face. Cleansing will remove any makeup and residue from skincare products that may make it harder for tweezers to cling to tiny brow hairs, says Healy.
As it is with fruit flavors, when it comes to lighting, natural is best. One surprising spot Bailey suggests: Your car. "You'll get plenty of natural light and there's a mirror already in there," he says. (Important side note: A locked car also offers respite from family members or roommates who may be driving you a little quarantine-crazy.) And both Bailey and Healy recommend ditching the magnifying mirror altogether. "When you get too close, you can't see the forest for the trees and that's when you over-shape," says Healy.
Step 2: Identify your natural brow shape using this map technique.
Bailey and Healy stress that you must start by identifying three key parts of your eyebrow: the head (the part closest to your nose), the arch (where your brow is naturally the highest), and the end of the tail (the part nearest to the outer corner of your eye).
Bailey relies on Benefit's brow mapping technique, which pinpoints those key areas using your nose as the point of origin. "This is how you customize your brow shape for your face and create balance and symmetry," he says. Start by resting a thin pencil (Healy recommends a closed brow tweezer) vertically against your nose—where it touches your brow is the head. "That's where your brows should start," says Bailey. Mark this spot with a microliner like the Benefit Precisely, My Brow pencil.
Rotate the pencil outward (like it's one of the hands on a clock), stopping at the outer edge of your iris. This is where the brow would naturally arch—Healy says it's typically two-thirds of the way from the head to the end of the tail. Mark that spot and move the pencil further, stopping at the outer corner of your eye. This is the end of the tail; mark this spot. Once you've repeated this process on both eyebrows, connect the three markings with straight lines both just above and just below your brow—this creates a map that shows you which hairs to tweeze (anything outside the lines) and which to leave alone (anything inside).
Step 3: Tweeze with care. And set a timer!
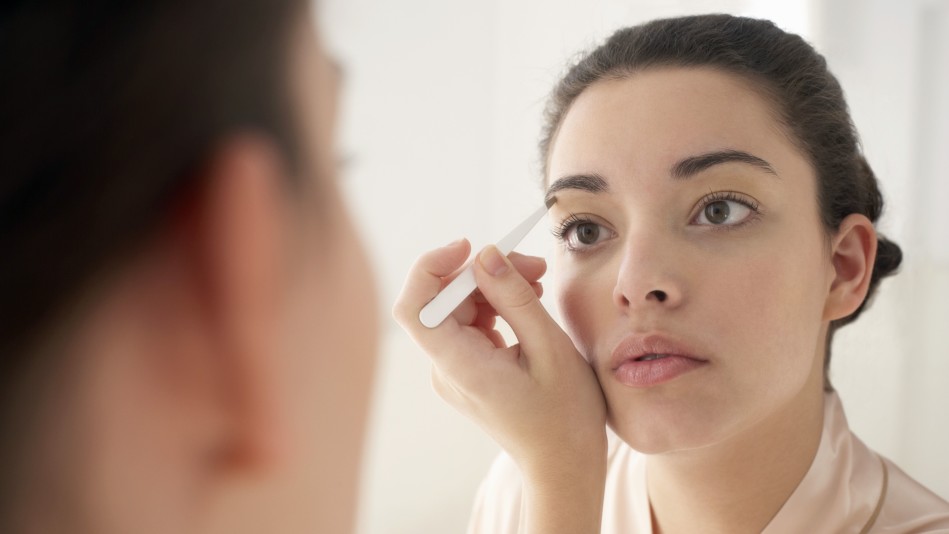
If you're using Bailey's technique, the hairs outside of your "map" can go. He recommends using two hands to tweeze properly—hold the skin taut with one and gently remove a hair at a time by tweezing in the direction of growth. "This protects the follicle so the hair will grow back," Bailey explains.
Healy recommends setting a timer for fifteen minutes—and putting the tweezers down the minute your alarm pings. "You'd be surprised how many people start tweezing and can't stop," he says. "It becomes a compulsion." His key cleanup areas include the space between the heads of both eyebrows, the forehead area just above the temples and just below the arches—but groom with caution. "You just want to tidy up underneath the outer one-third of your brow," he says. "There will be some hairs you'll question—leave them be. Now's not the time to take them.”
Oh, and remember those cold compresses? This is when you'd want to apply them to the area to help calm any redness or irritation from the plucking. "Make it a little spa moment," Bailey suggests.
Read the full story here: The Beginner's Guide to Shaping Your Eyebrows for the First Time


