5 Things You Can Do with Gold Spray Paint
Do-it-yourself experts reveal their favorite ways to spruce up household items and craft-store bargains with a canister of gold spray paint.
By Joann Pan
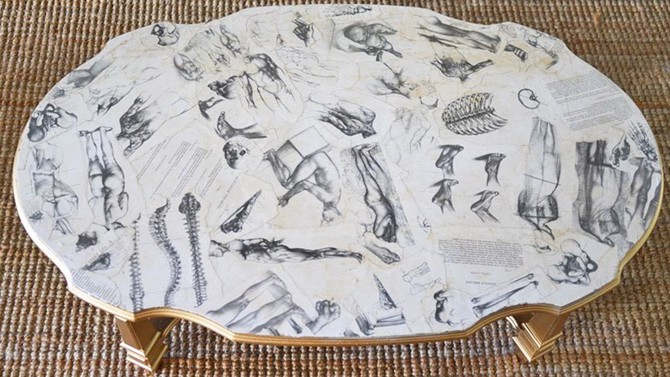
Photo: Mr. Kate
A Paper-and-Gold Makeover for a Coffee Table
In a no-fuss project, lifestyle blogger Kate Albrecht—aka Mr. Kate and the author of A Hot Glue Gun Mess—uses pages from a black-and-white anatomy textbook and a canister of gold paint to revamp a coffee table found curbside. To pick the right shade of gold you're looking for, she says, "Look at the cap." The covers indicate the sheen. "The caps that are more of a subtle shimmer are matte and the [others] are metallic, like an Oscar statuette," she says.
Prep the table by roughly sanding the surface until there's no sign of peeling varnish (it should be smooth to the touch). "Start off with a heavier grit (80 or 100), and then go up in number," Albrecht says. (The higher the grit, the smoother the sandpaper.) Spray the legs with primer. After it dries, ideally overnight, the table's legs and edges are ready for a couple coats of gold. If the book you're using is new, consider an aged-paper look. Soak the sheets in black coffee for up to two minutes. Hang the paper up to dry. Then roll on each piece with a foam brush dipped in Mod Podge until the tabletop is completely covered. When the decoupaged top is dry, trim off any excess paper. Seal with two coats of polycrylic protective finish.
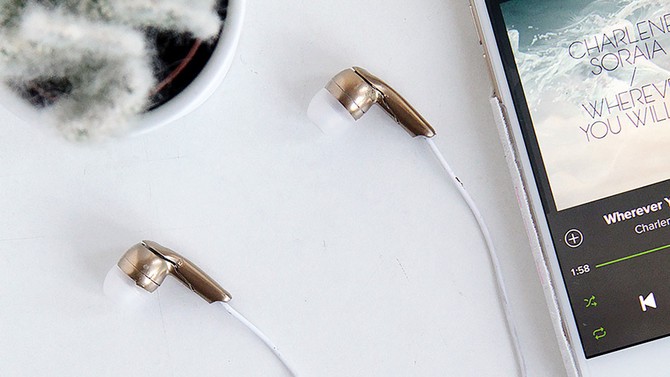
Photo: Francesca Stone
A 5-Minute DIY Made for the Podcast Addict
Spruce up your white earbuds with some gold. You just need masking tape (to cover the parts that you won't paint) and a can of spray paint. Remove the plastic buds from the headphones. Tape off the metal tips and the cord, so only the hard plastic nozzle is exposed. "Spray on light layers and leave to dry fully before each next coat. You should see a glossy, shiny surface building up after around four or five coats," says Francesca Stone, Fall for DIY blogger. For this project, Stone recommends no-sealer-required PlastiKote spray paint for a lustrous finish.
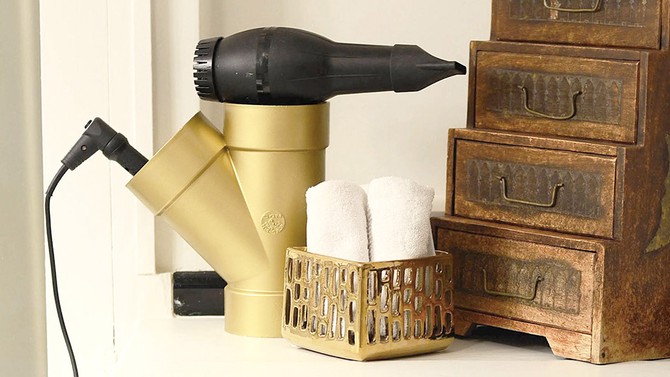
Photo: Mr. Kate
A Storage Hack for Your Overflow of Beauty Tools
Here's a streamlined solution to organize your hot tools. Start off with a 4-inch split pipe from any hardware store. Place the tube on a plastic sheet and spray with primer. After it dries, spray it with the gold paint. You can store your blow-dryer, curler and straightening iron in it once the paint is dry to the touch. Tip: Wrap your still-hot straight or curling iron in a cloth pot holder to prevent melting plastic, says Albrecht.
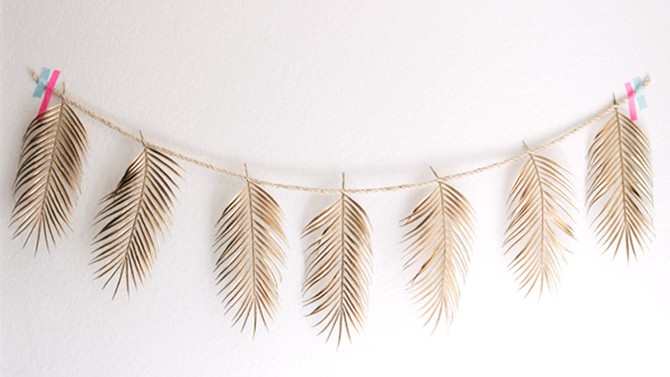
Photo: Lauren Saylor
Your Last-Minute Get-Together Decor Kit
The next time you have friends or neighbors dropping by for dinner, effortlessly set the festive mood with a delicate wall garland. Gather some rope, faux palm leaves, gold spray paint and washi tape for this supersimple project. If you can't find palm leaves at your local craft store, any artificial tropical foliage stems will work, says Lauren Saylor, A Fabulous Fete blogger. Spray paint both sides of each leaf and let dry for approximately 12 hours. Get started first thing in the morning and you'll have time to clean, grab wine and make easy hors d'oeuvre while the paint sets. Once the leaves are dry, poke the stems into the twine (which should be tight enough to hold them). Stream the flower garland across a mantle, on the door or over a kitchen table using washi tape, thumb tacks or removable hooks.
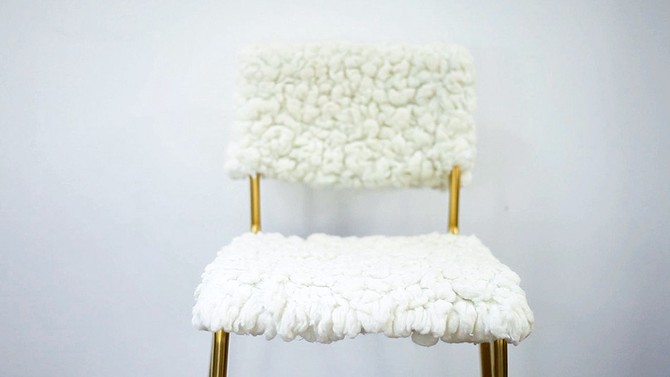
Photo: Treasures & Travels
Turn Plastic Barstools into Glammed-Up Seats (No Sewing Required)
This before-and-after proves you don't need to be an expert with a drill, sewing machine or paint to customize a piece of store-bought furniture. In a tutorial, Treasure & Travels bloggers take an ordinary barstool from IKEA ($18) and give it new life using a plush, faux-sheepskin rug (also from IKEA), scissors, a glue gun and gold spray paint. First, assemble the barstool's frame according to the package instructions. Then coat the structure in gold spray paint. "Wait about an hour to do a second coat, and then let it seal for a day," says Tegan Klenner, of T&T. Lay the plastic seat out on the wider square side of the upside-down rug and sketch a rough outline around the seat—making sure there's a 1-inch allowance all around. Use scissors to cut across the lines. Place the seat back onto the cutout and paste the inch or so of material onto each side of the seat. Next, you can place the stool's backrest onto the remainder of rug (holes facing you). Like you're folding an envelope, tightly fold each side in and glue the material down in the center, wrapping the backrest tightly within the rug. Cut two holes into the cover, so you can snap the backrest onto the chair's frame and attach the seat.
Published 06/15/2015

