DIY Nail Art in 5 Easy Steps
By Alessandra Foresto
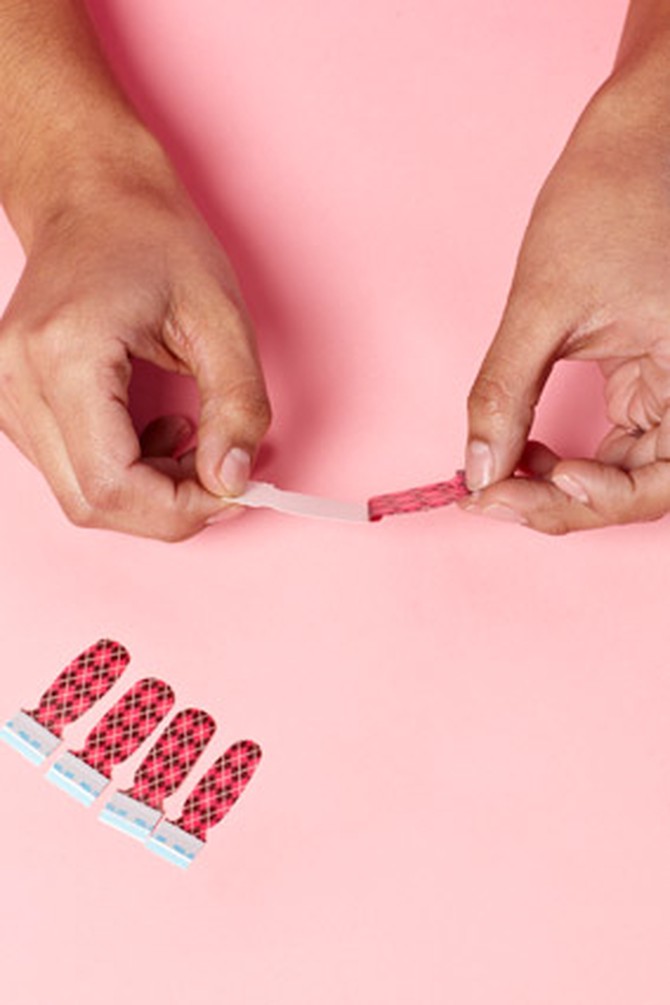
Photo: Ben Goldstein/Studio D
New nail stickers made with fine layers of real polish and a film of flexible adhesive let you doll up your fingertips in minutes—with no dry time. (I did this manicure at my desk without attracting undue attention. Which is to say...it's an easy process.) My three favorites: Sally Hansen Salon Effects Nail Polish Strips (shown here, $10; drugstores), Sephora Collection Nail Patch Art ($12; sephora.com), and Kiss Nail Dress Fashion Strips ($8; drugstores). Each kit includes either 16 or 28 nail polish strips—the Sally Hansen and Kiss sets also contain a mini nail file—and all work the same way.
1. Choose the strip that best matches your nail size and shape; peel off the backing.
1. Choose the strip that best matches your nail size and shape; peel off the backing.
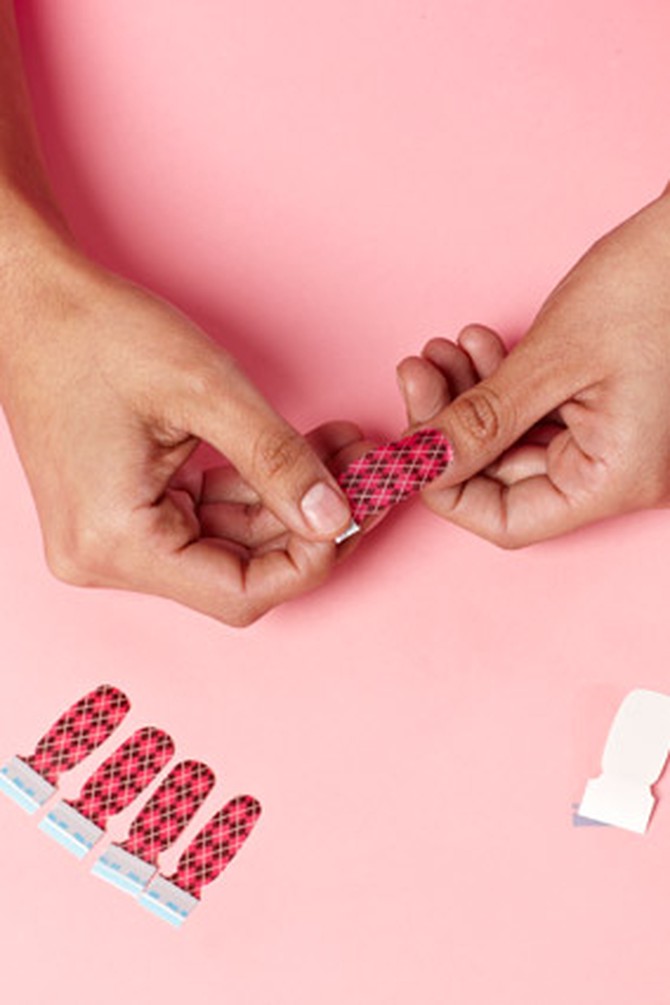
Photo: Ben Goldstein/Studio D
2. Carefully place the sticker on your nail, lining up the edge with the cuticle.
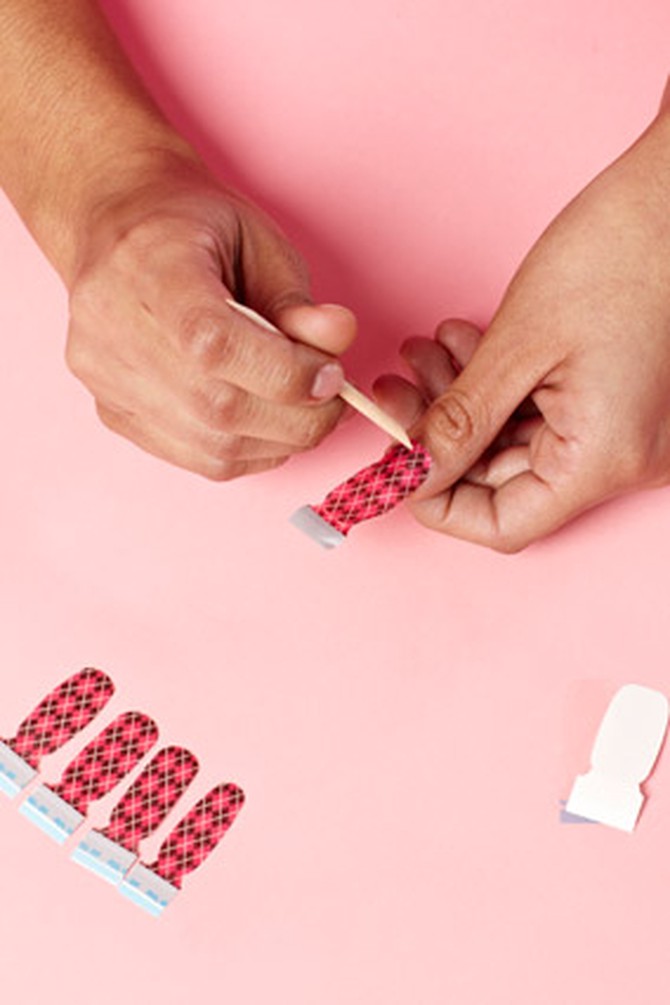
Photo: Ben Goldstein/Studio D
3. Press down the sticker to avoid bubbles—I used an orange stick to do this.
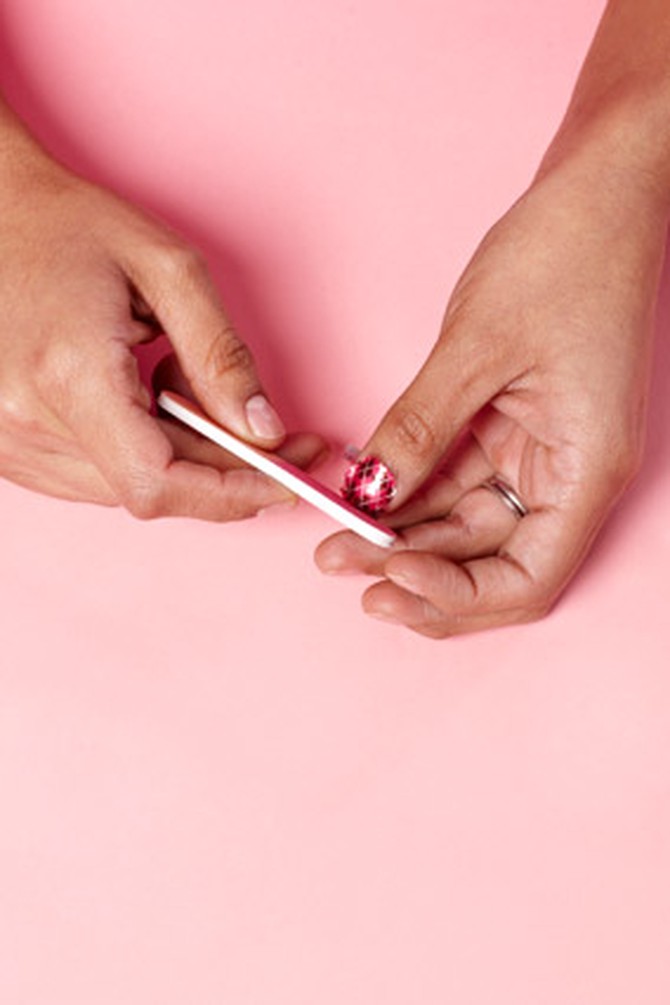
Photo: Ben Goldstein/Studio D
4. Fold over the excess and tear or file it. Repeat on the rest of your nails.
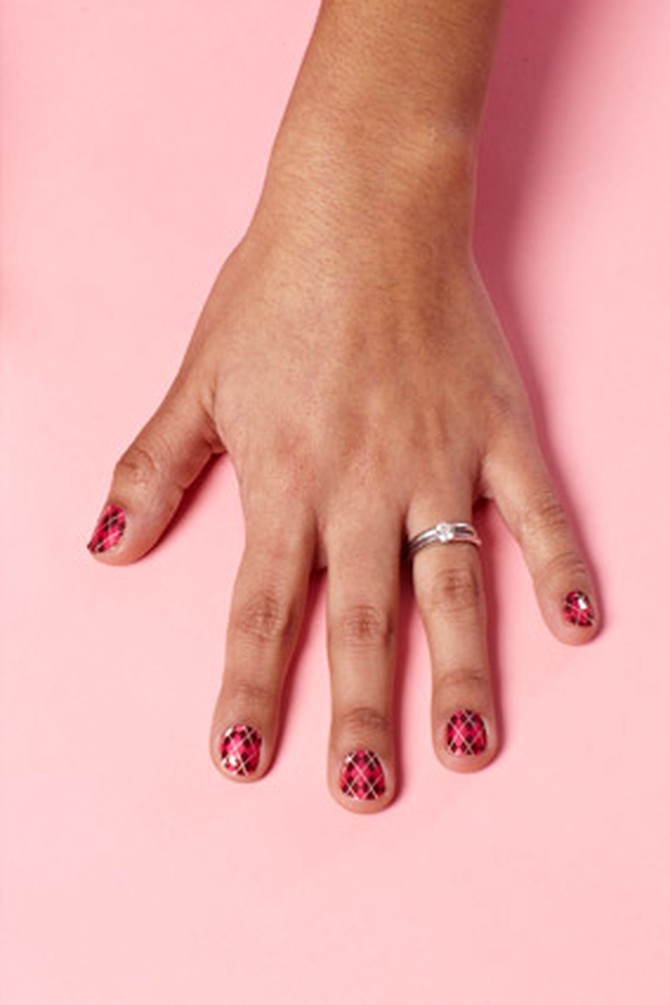
Photo: Ben Goldstein/Studio D
5. All three brands have a shiny finish and lasted five days with no chips.
Next: Which beauty products really work?
Next: Which beauty products really work?
From the June 2012 issue of O, The Oprah Magazine

